Raspberry jam is my favorite flavor of jam. I have wonderful memories of my grandmother gifting our family jars of homemade raspberry jam, and happily consuming it on sandwiches and toast. This year, I got the privilege of making and sharing my favorite jam with my own kid.
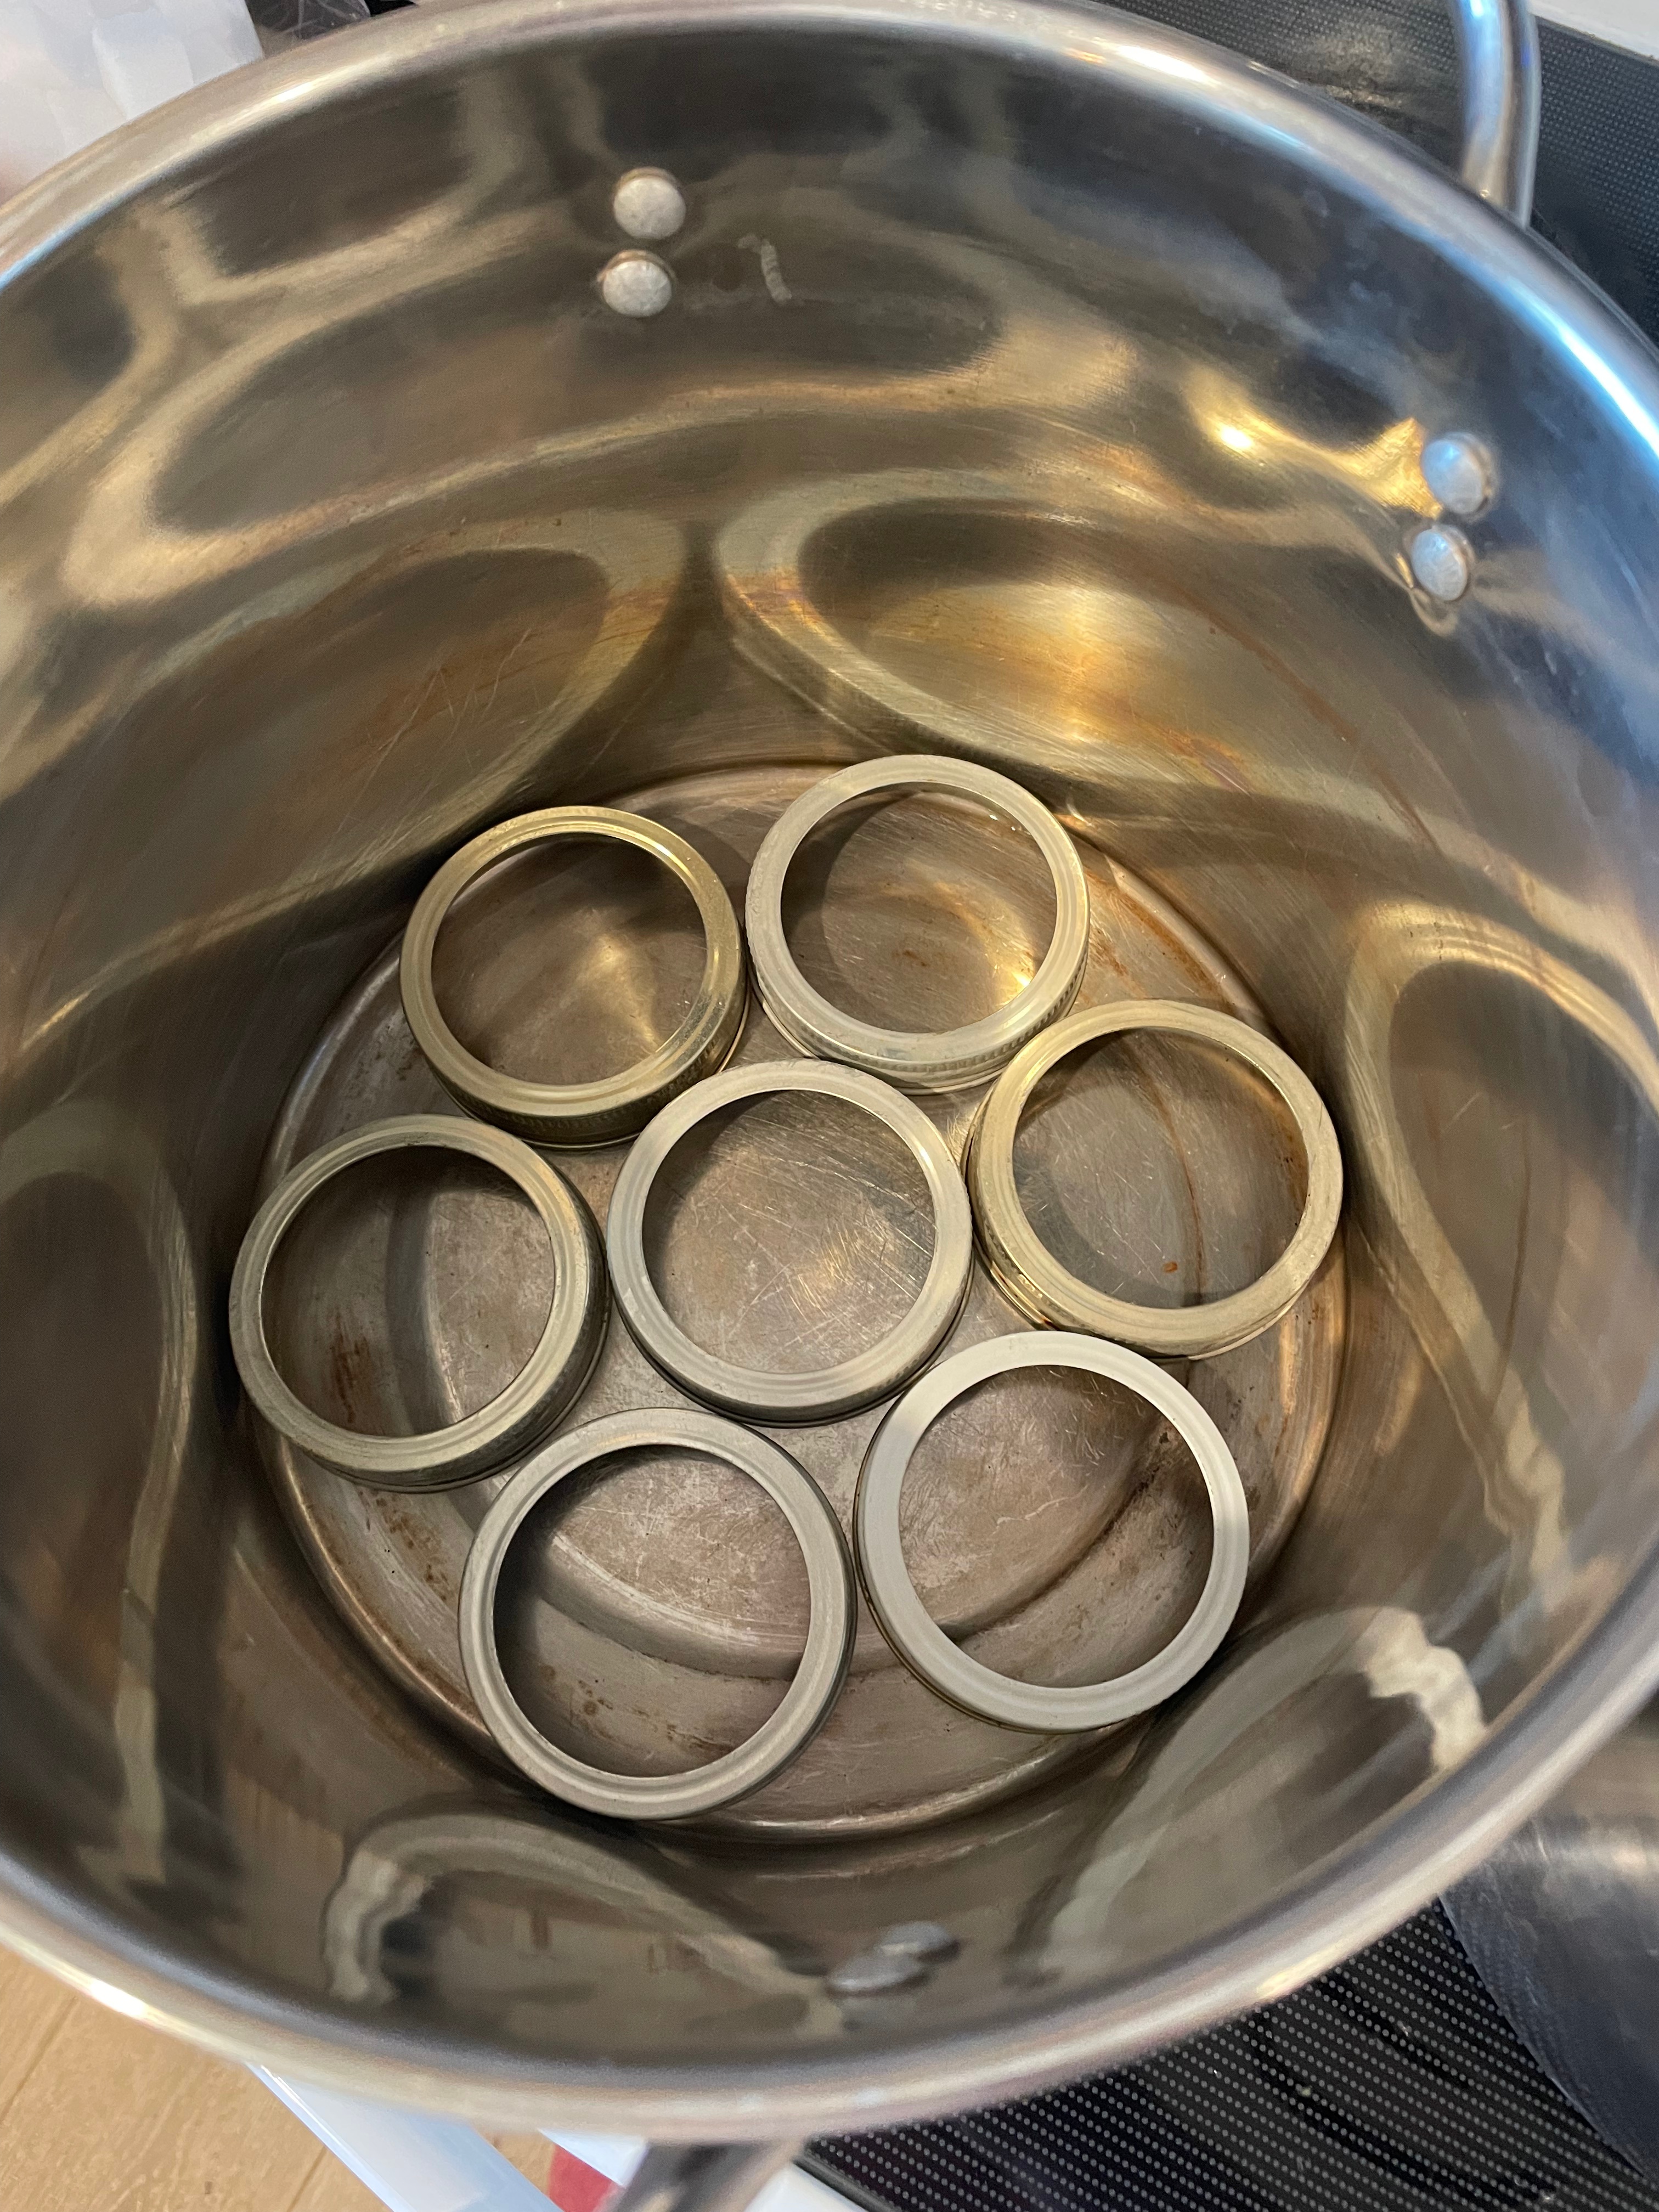
I once again used the USDA guide to home canning and a one-to-one ratio of smashed fruit to sugar. Per the guidance in the book, I did not exceed four cups each of fruit and sugar. I started by preparing my stockpots to be boiling water canners by placing unused jar lids in the bottom and then filling them with water.
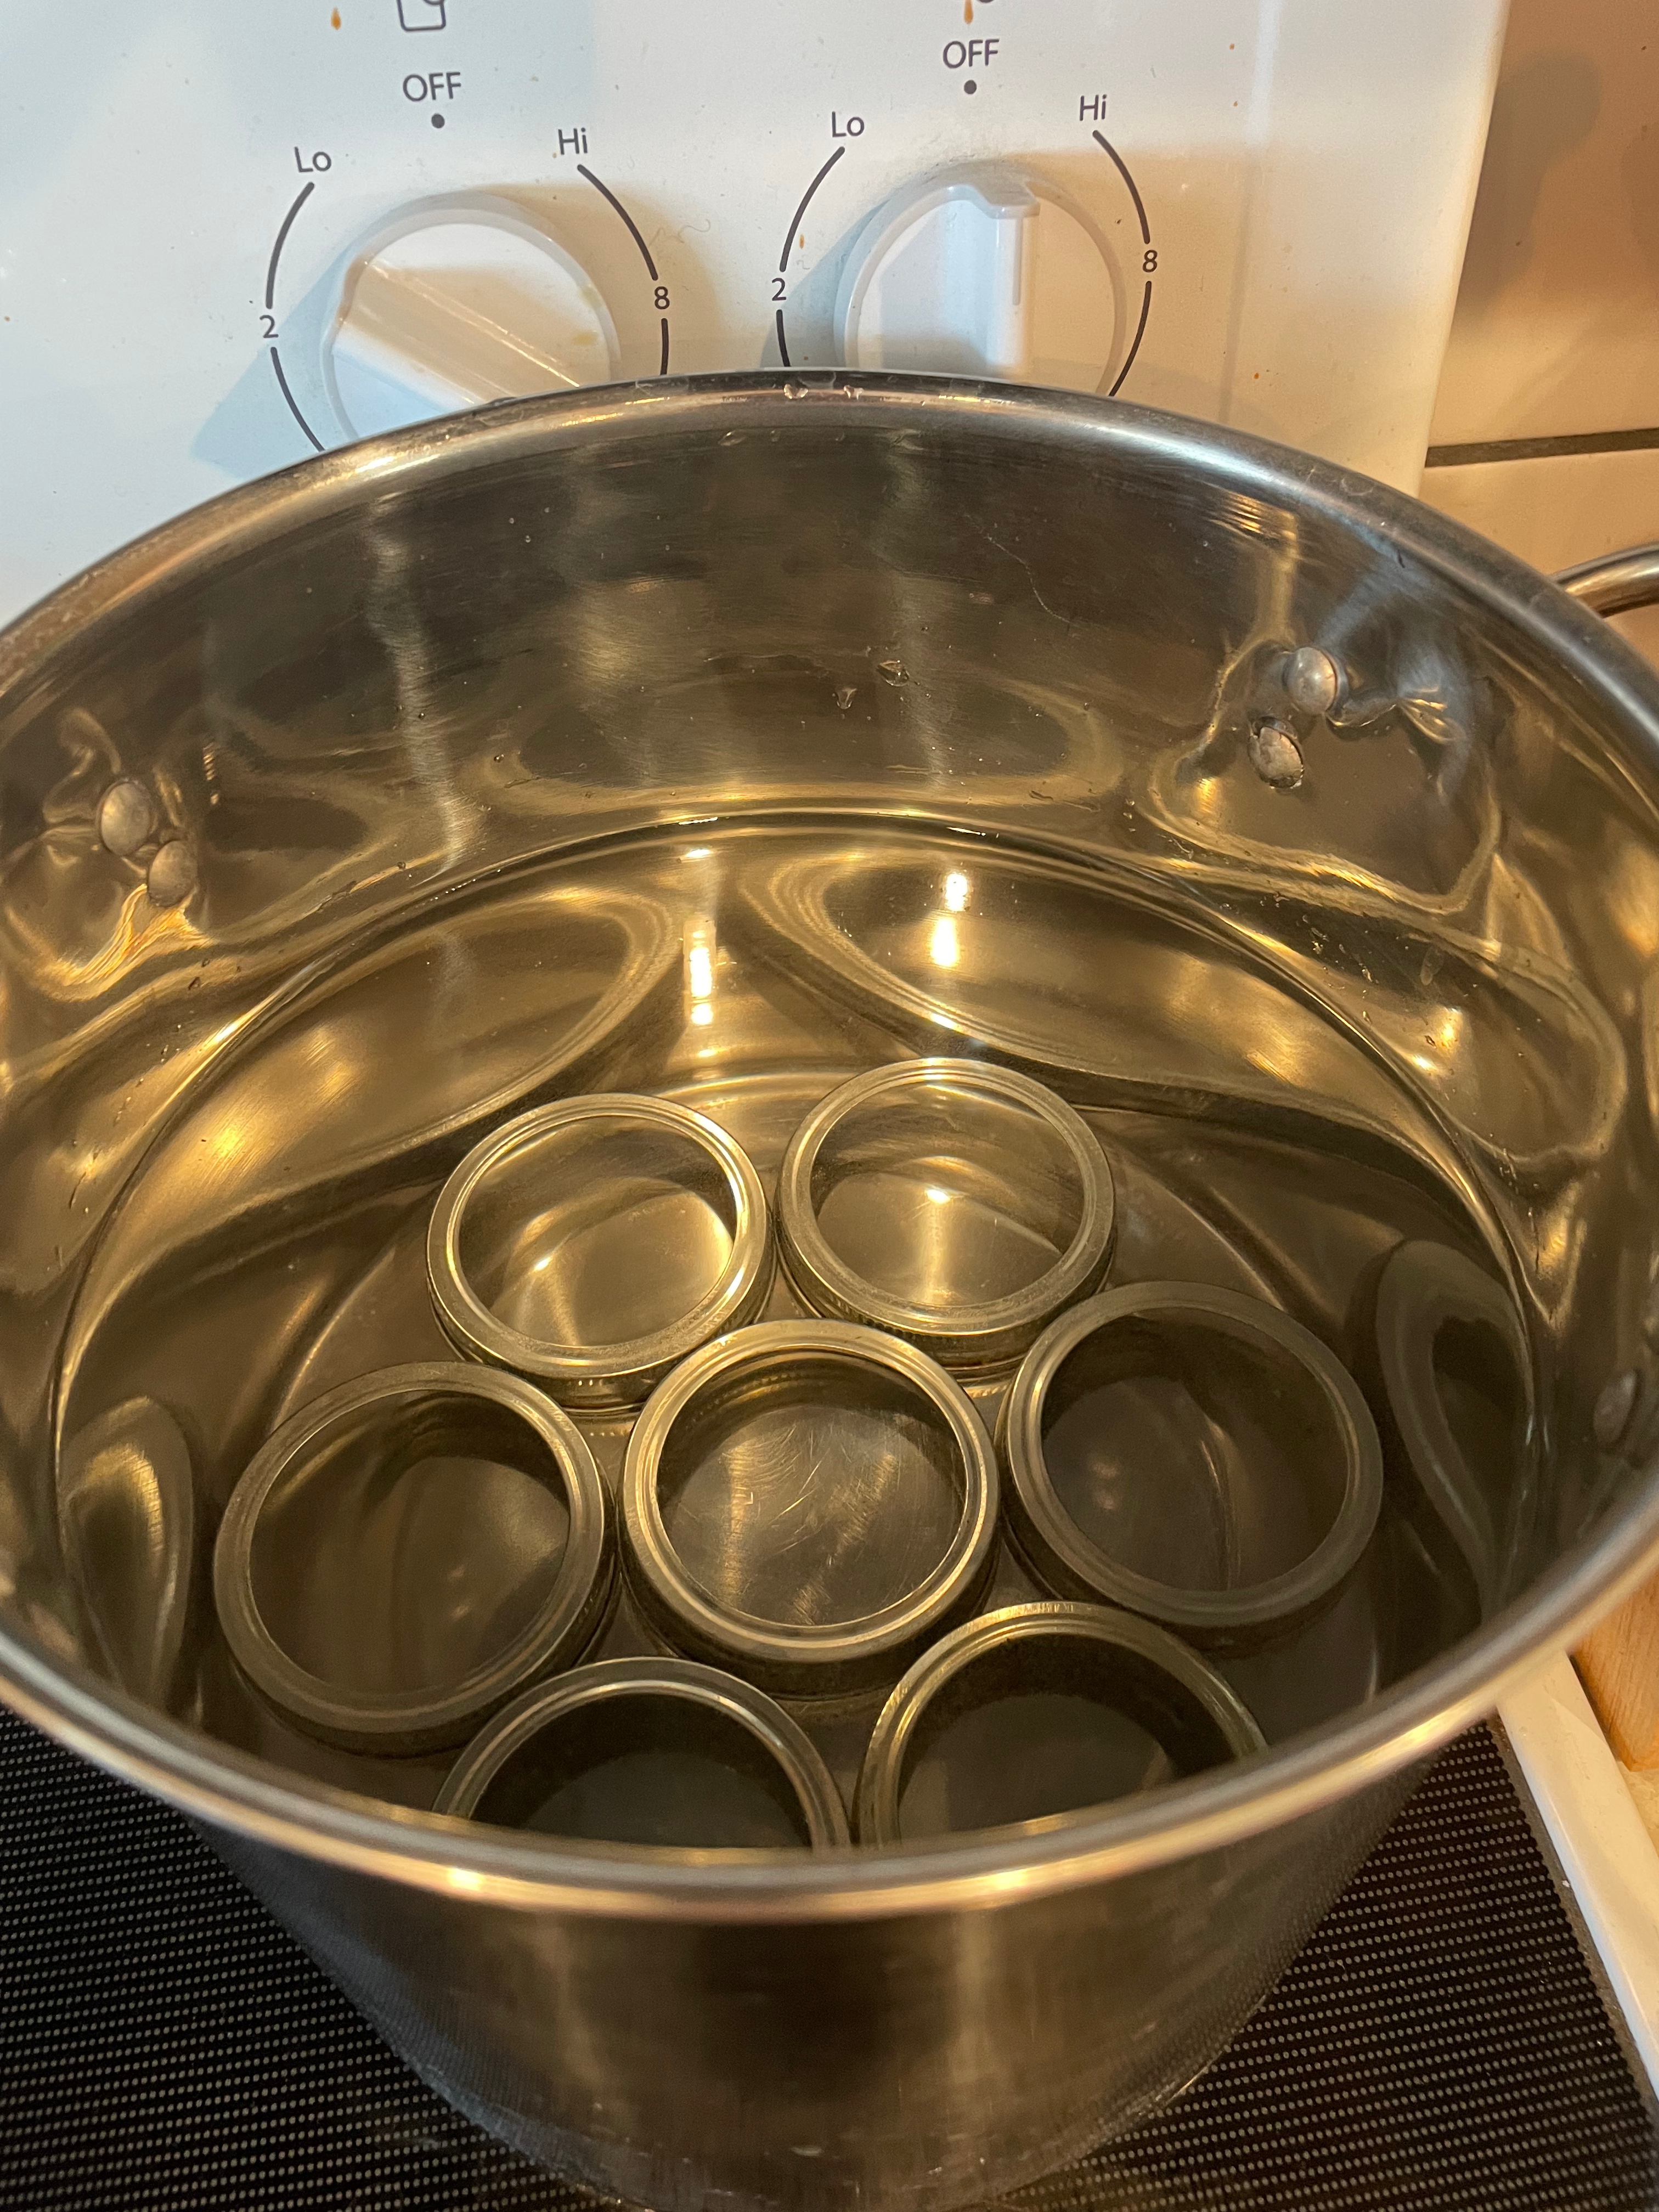

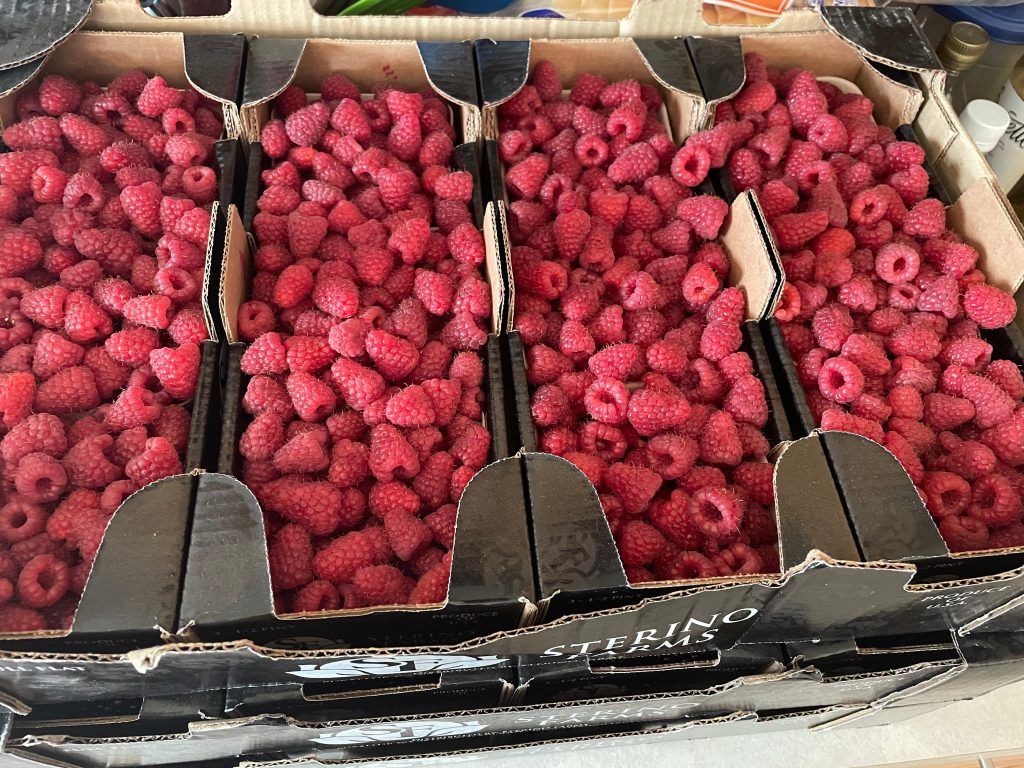
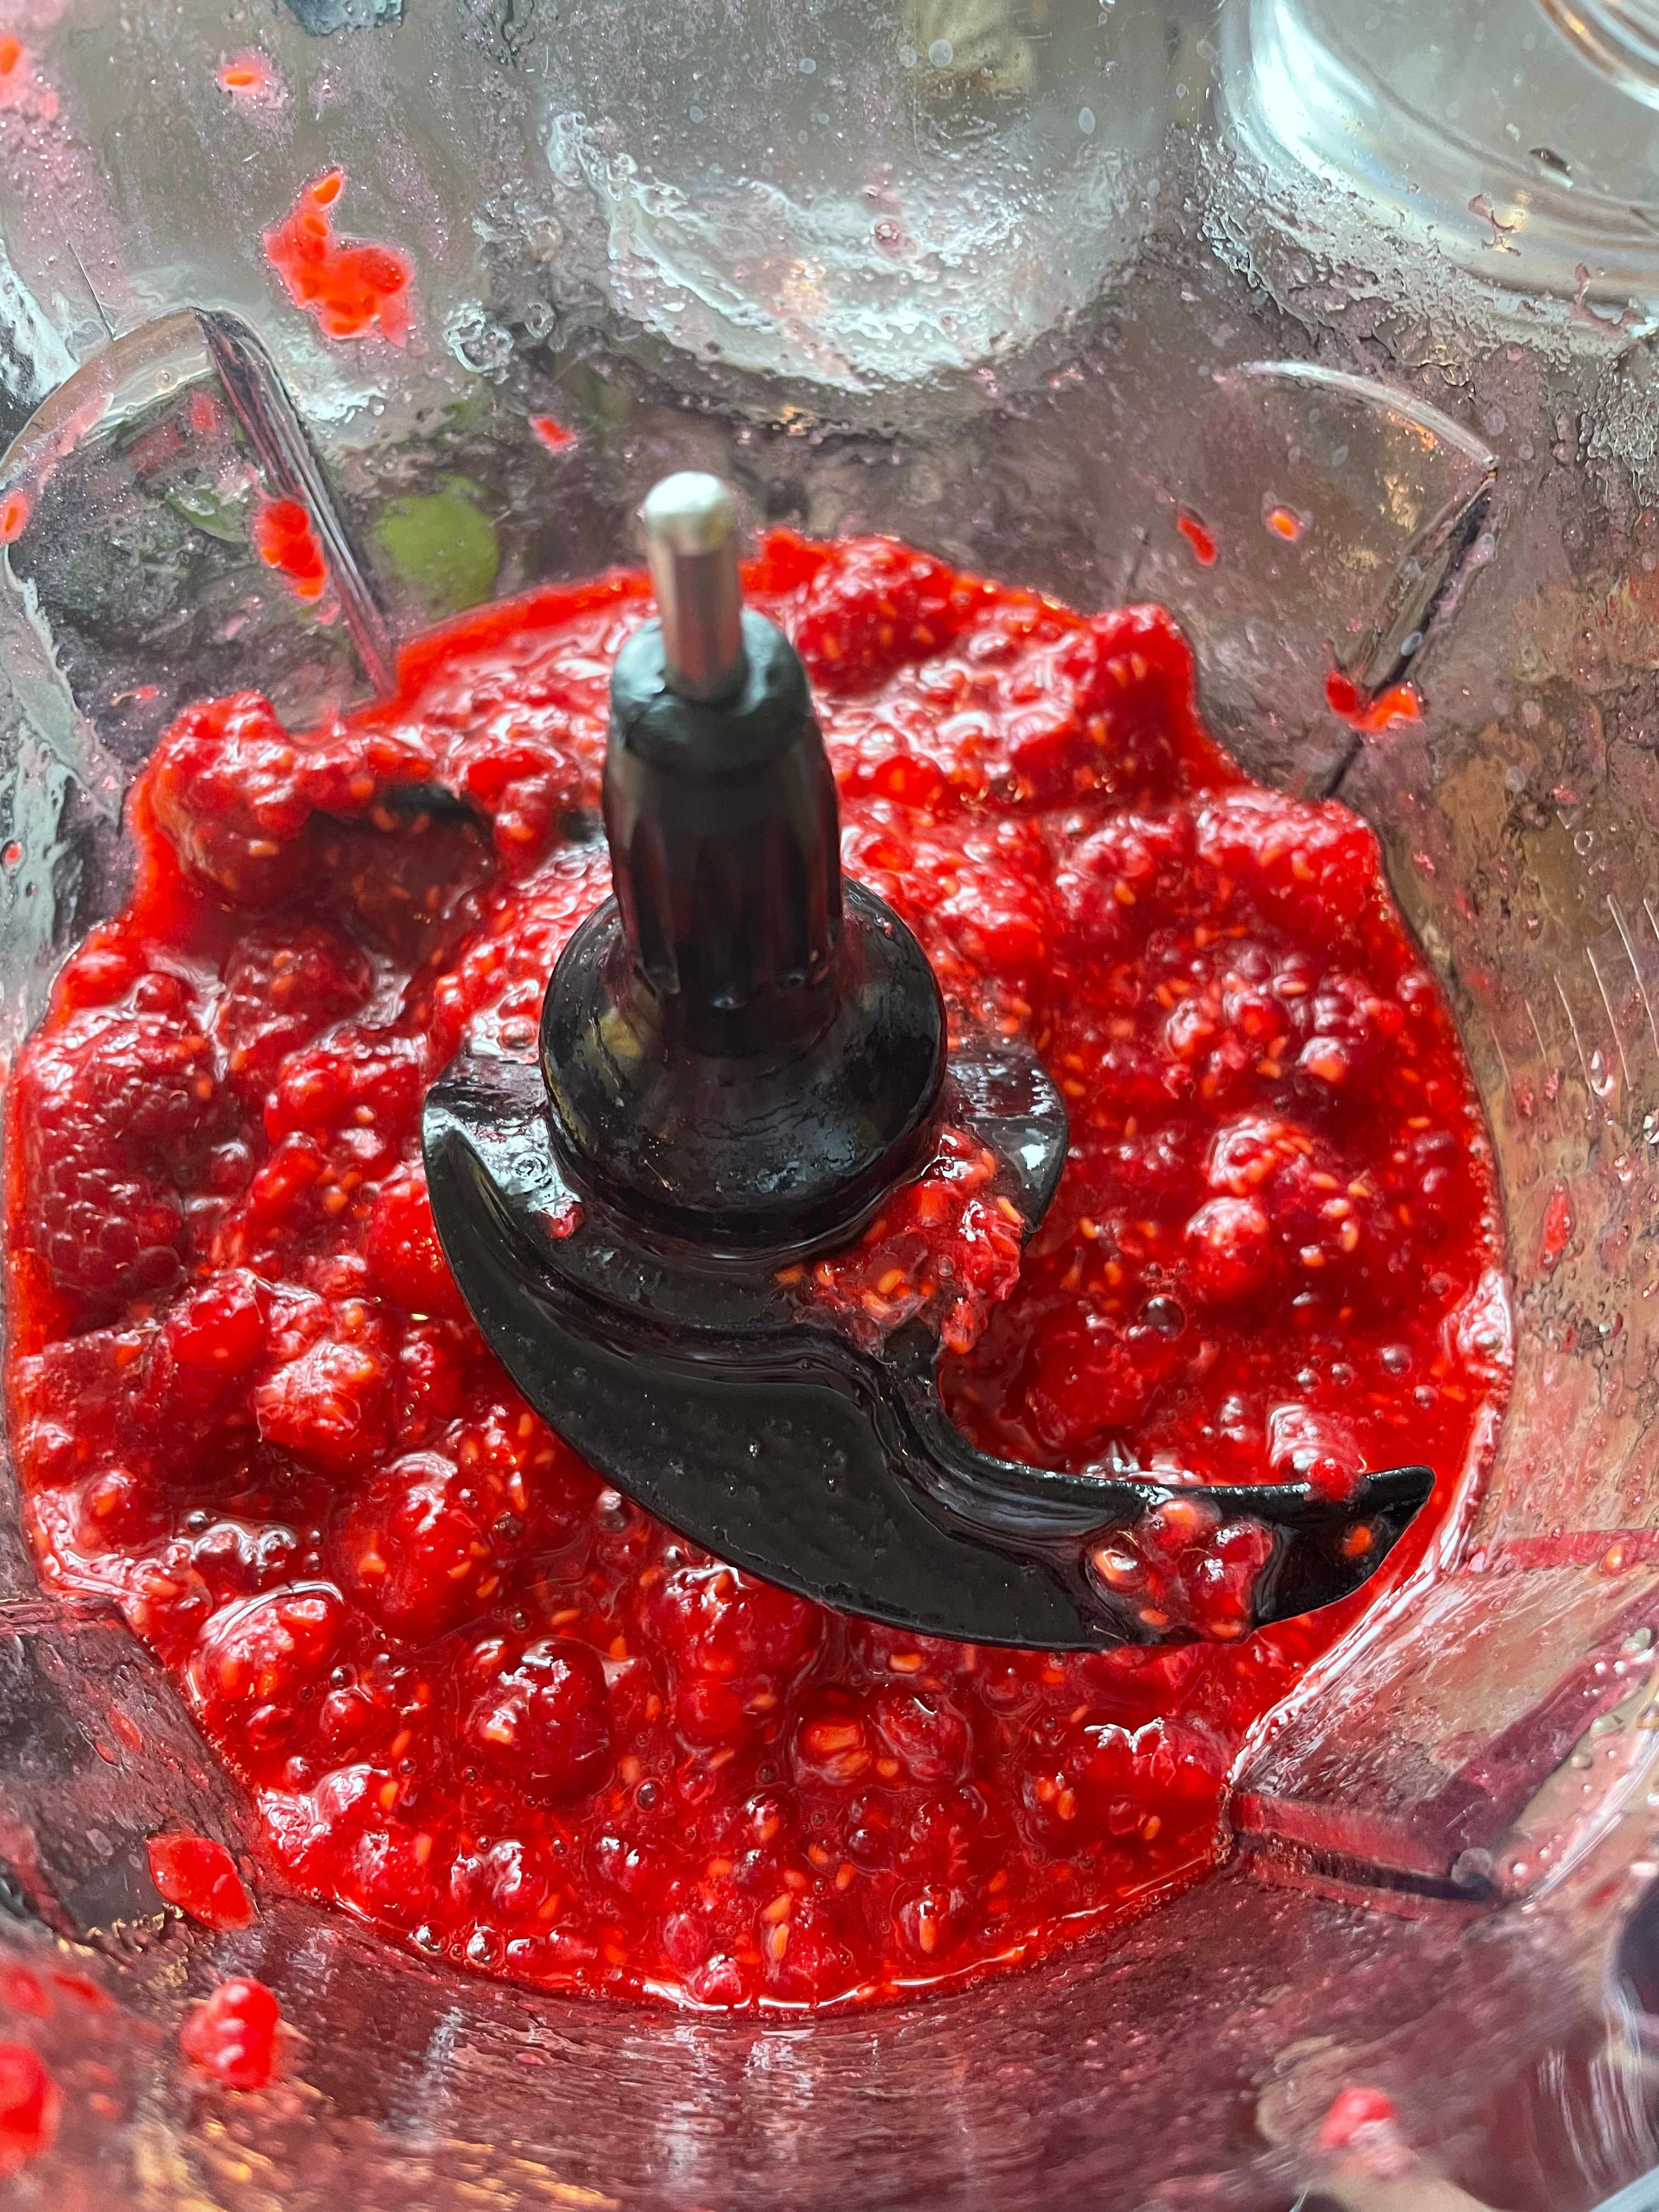
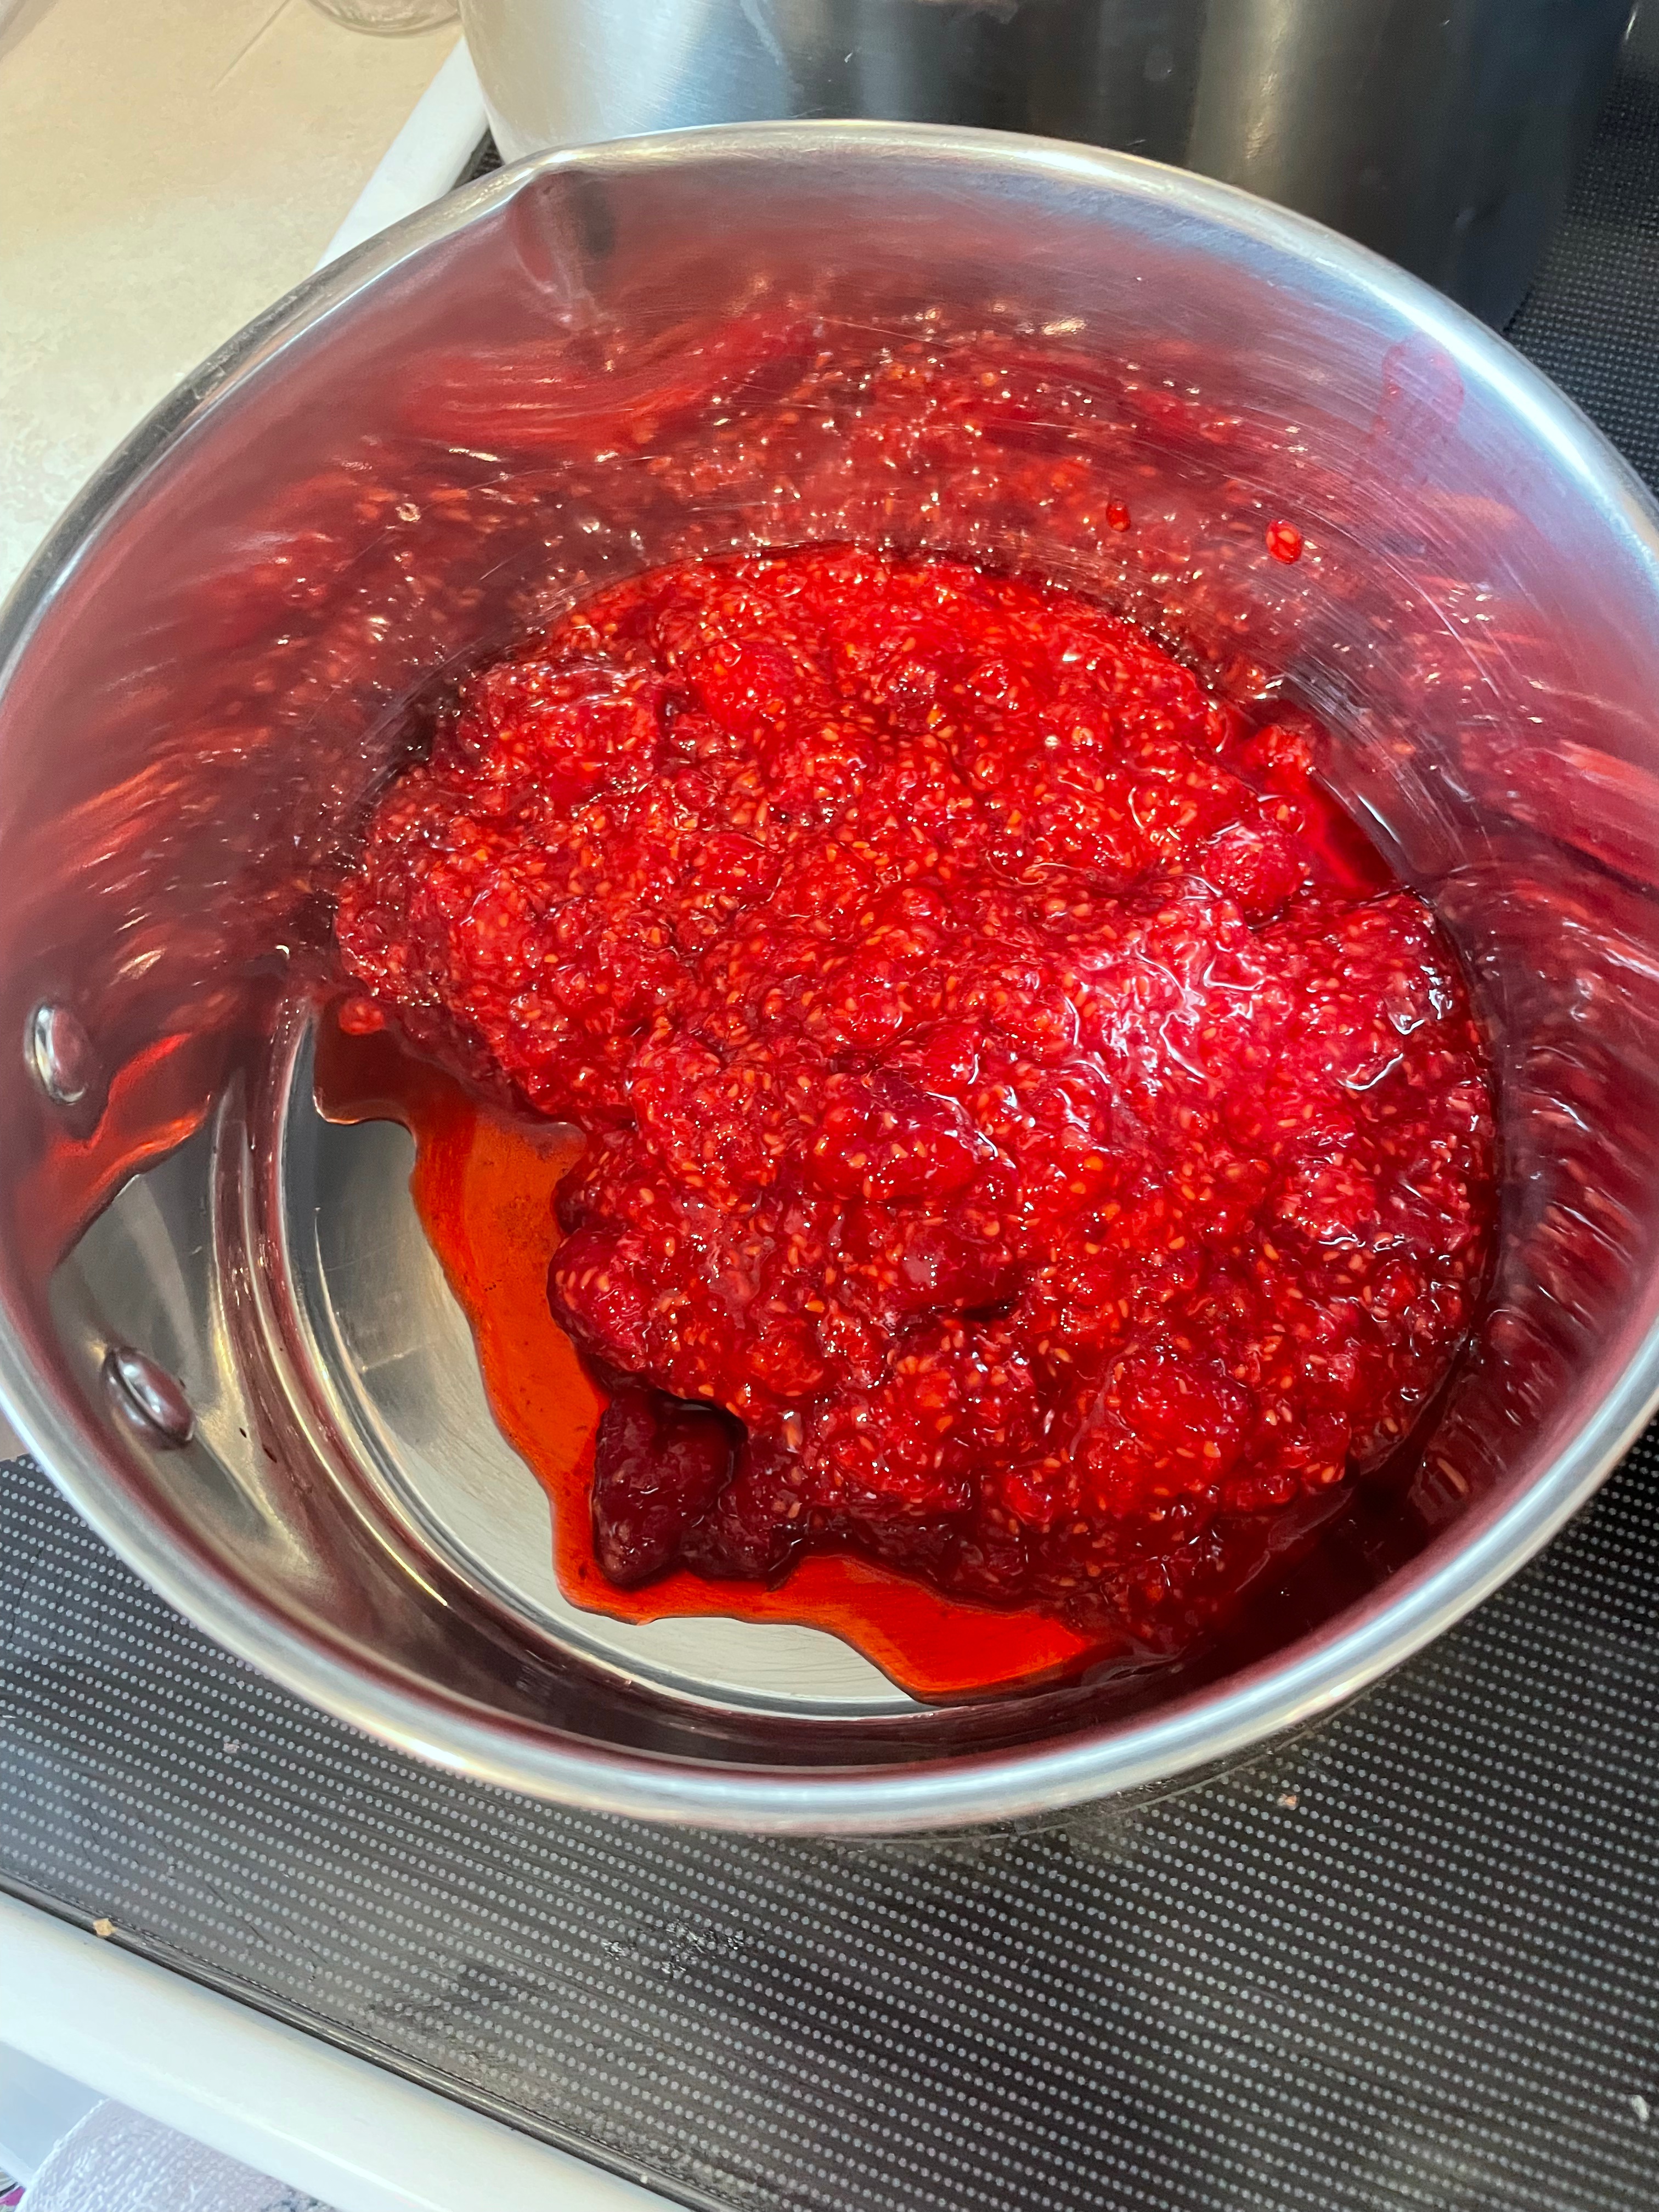
Once the stockpots of water were on the stove, warming up, I rinsed my raspberries and put them into my blender with the plastic paddles in place. A quick blitz later, and I dumped the smashed fruit into my large saucepan four cups at a time. I added the sugar and then mixed it together and brought the mixture to a rolling boil, stirring frequently.


I kept the mixture at a rolling boil for 10 minutes stirring constantly as I have found that works well to get the jam to set the way I like. I then ladled the jam into the prepared jars, centered their lids, finger-tightened the rings, and carefully placed them into the stock pots with my jar lifter. I brought the water in the stock pots to a full rolling boil, covered them, and let them boil for 10 minutes.


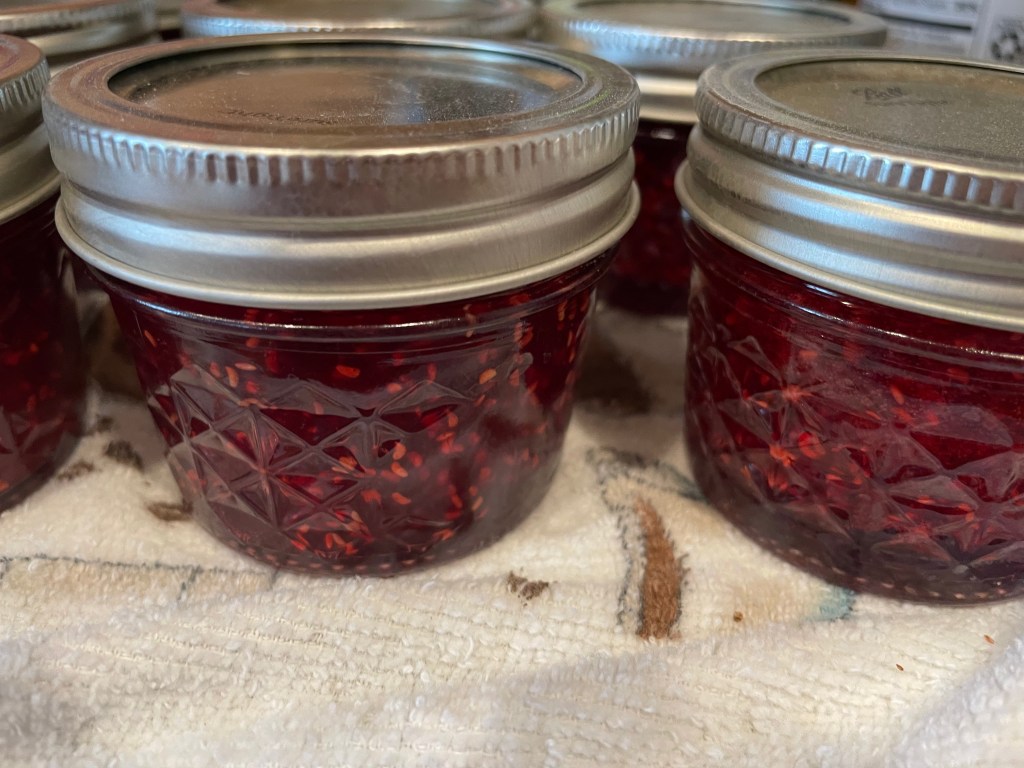
After 10 minutes, I removed the jars from the stockpots and set them aside on a towel on the counter to cool. The jars need to rest and cool for 12-24 hours before the seals can be checked. Like all of my pectin-free jams, the raspberry jam has a soft set that I like for spreading, and it makes a great addition to pancakes, waffles, or ice cream, as well as toast and biscuits.


Raspberries were purchased from Annie’s Fun Farm in East Wenatchee, WA. They were worth every penny!

Leave a comment