
For this recipe, I started with the Silky Apricot Butter recipe from Ball. However, due to the way that I prepare my apricots, there are some slight differences. Because I puree my apricots after removing the skins rather than putting them through a food mill eight cups at a time, my apricot butter has slightly less lemon juice, as I use two tablespoons per eight cups rather than six cups. But, let’s dive in.
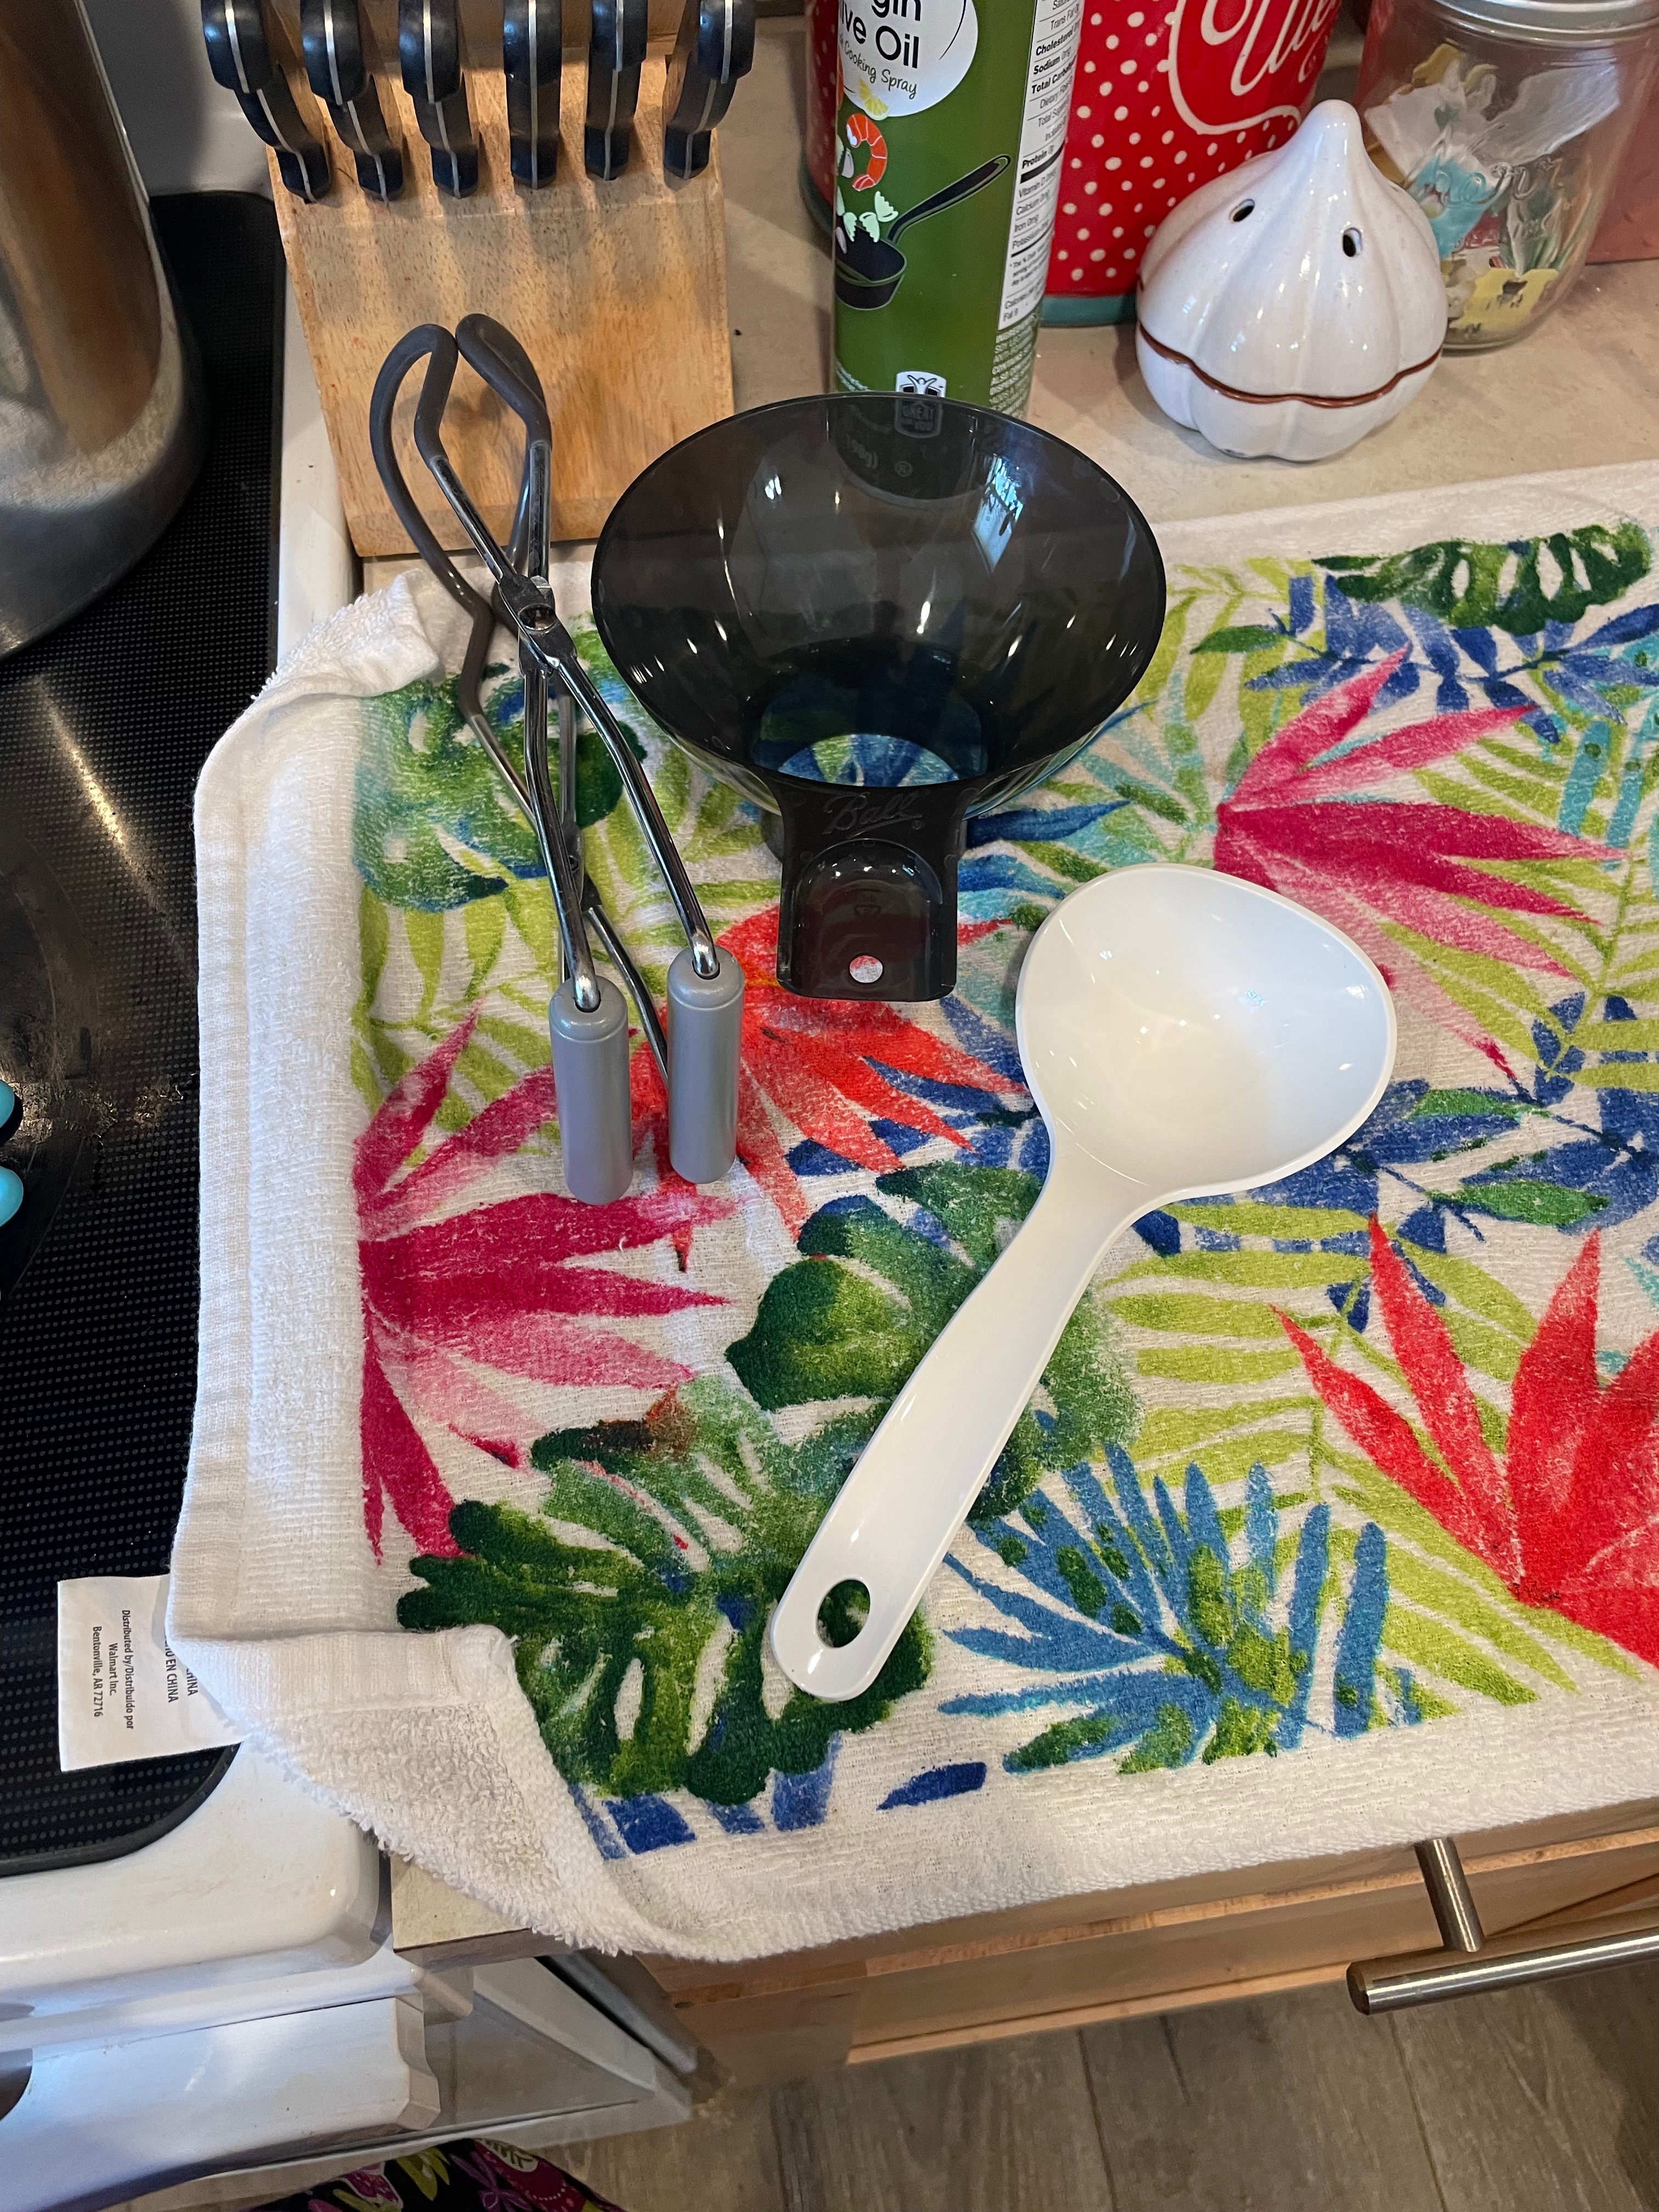
Begin by preparing your lids, rings, and jars according to the the directions on their packaging or on the USDA or manufacturer’s website. I use Ball and Kerr jars and lids because they are accessible and have been reliable over the years. I run the jars and rings through the dishwasher, and leave them in the heat until I am ready to use them. The lids get a bath in hot soapy water, then are rinsed and set aside until I’m ready to use them as directed on their packaging.
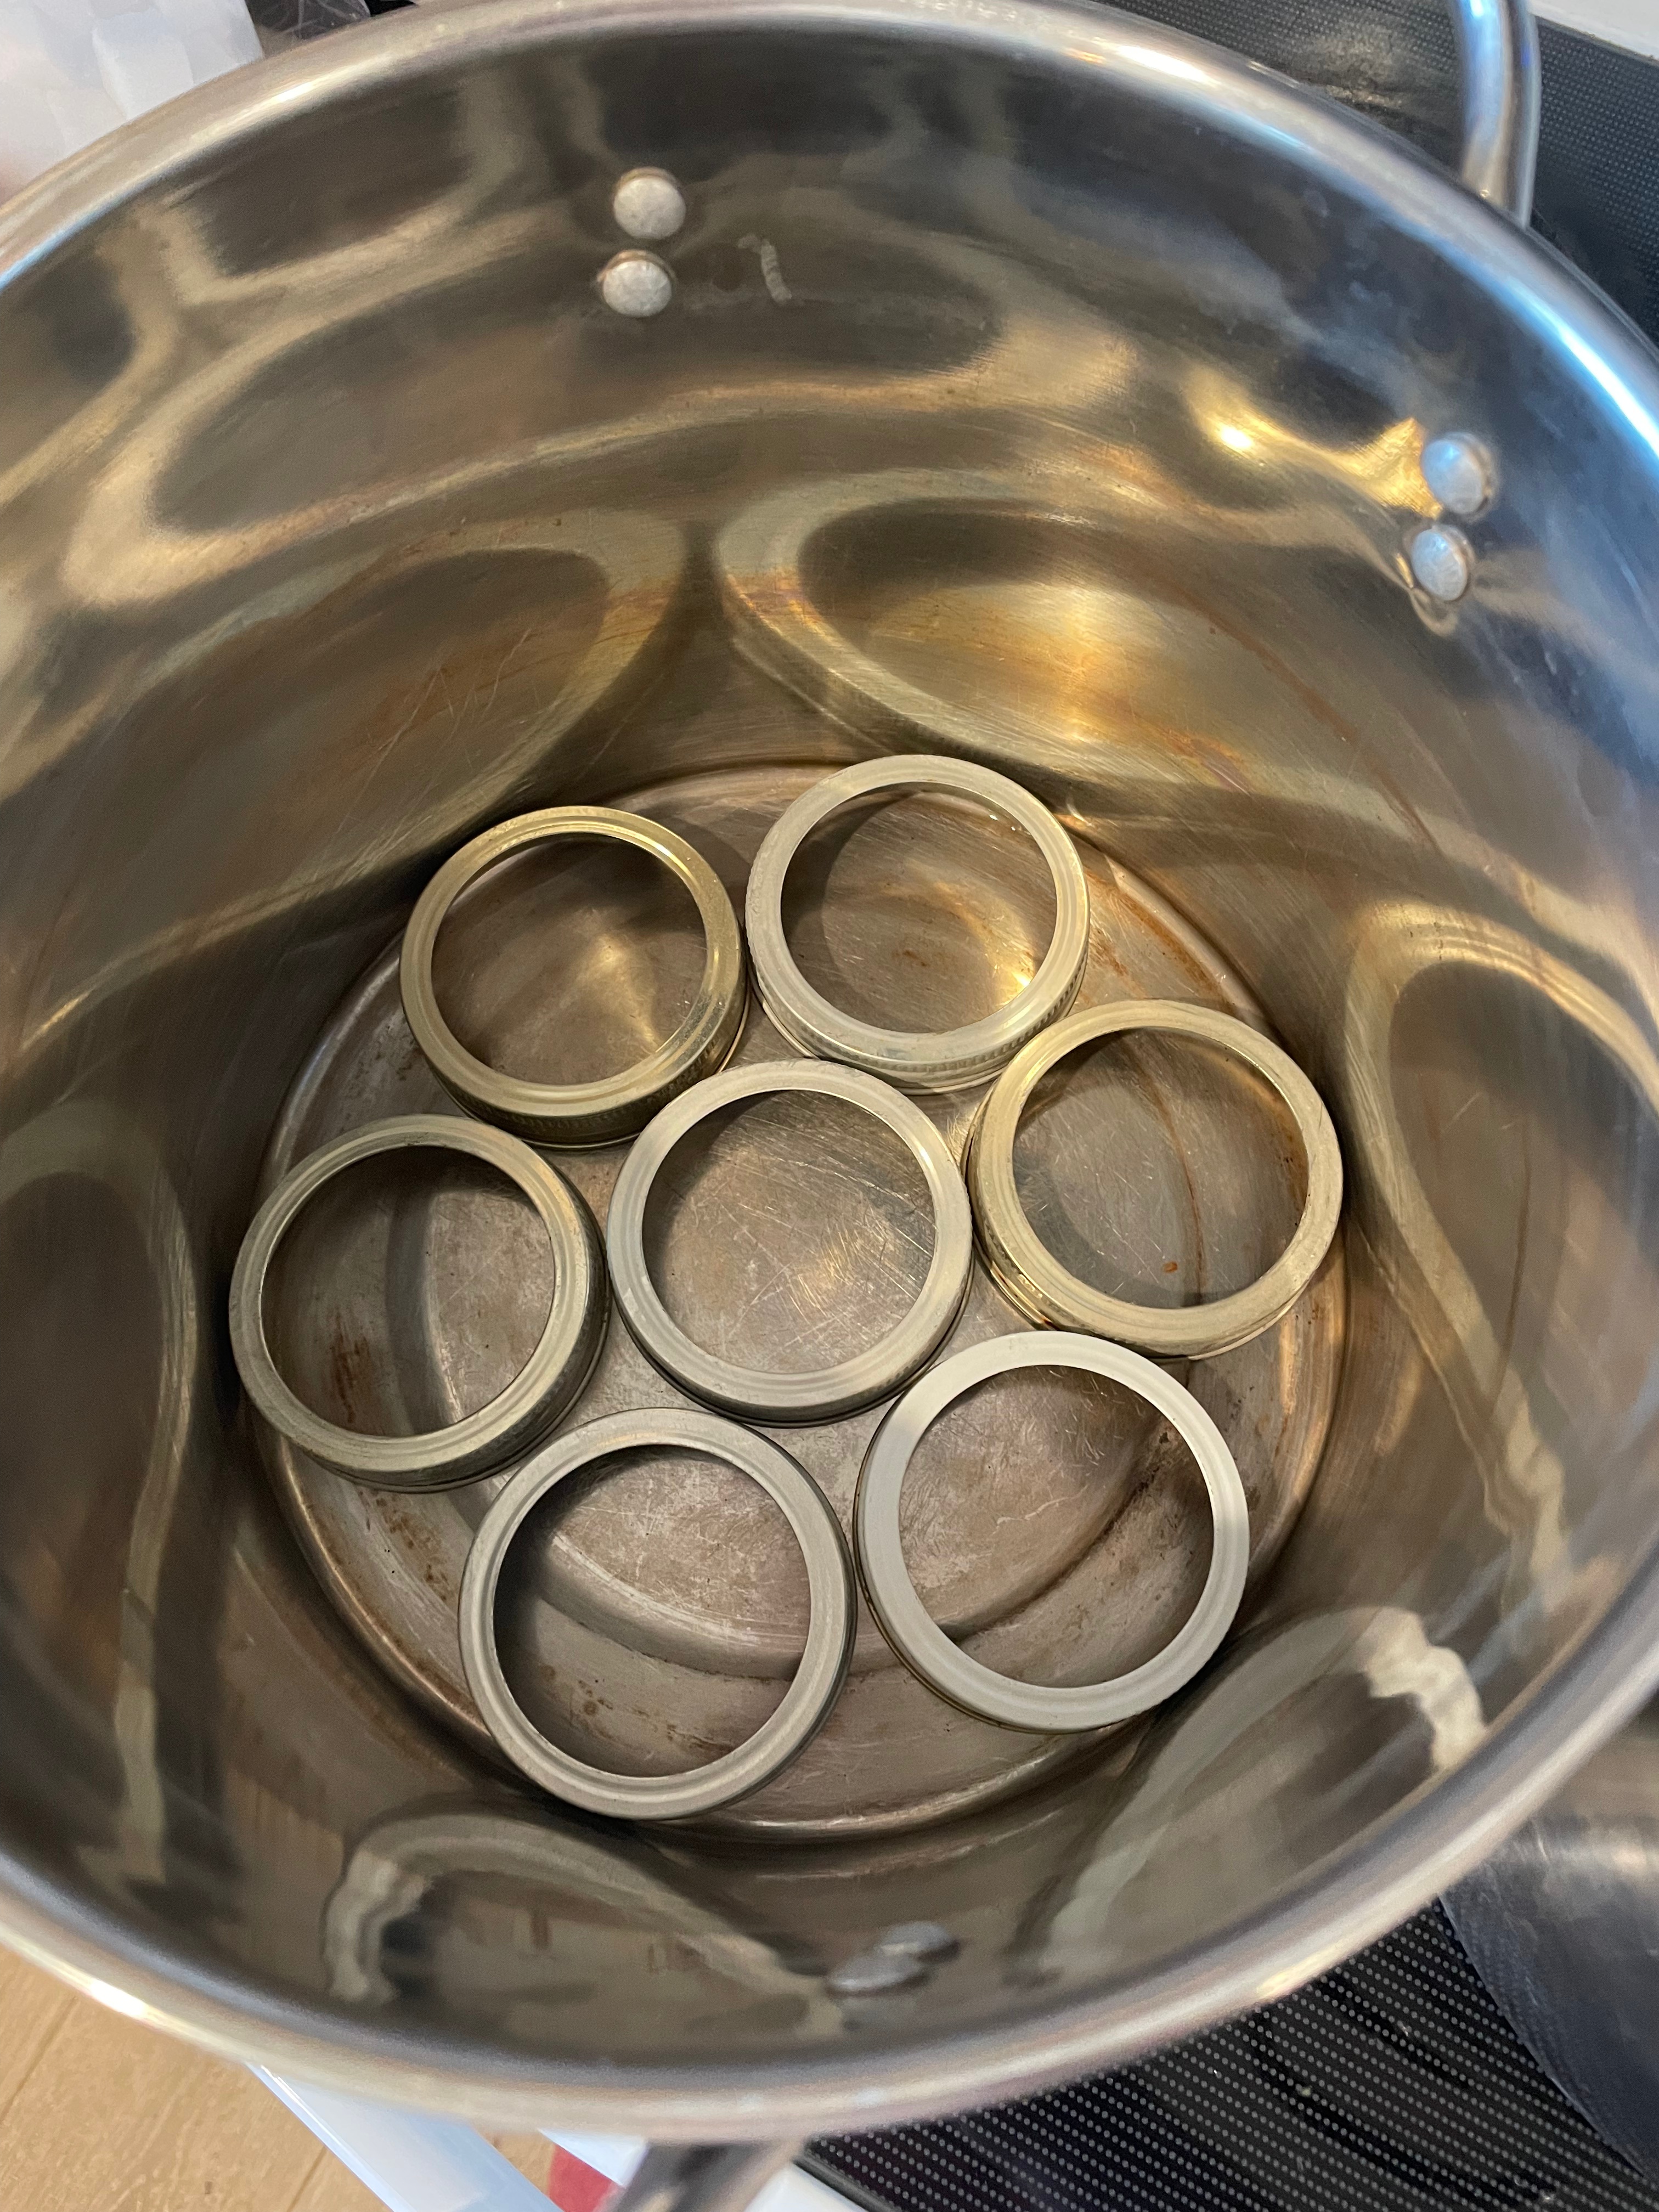
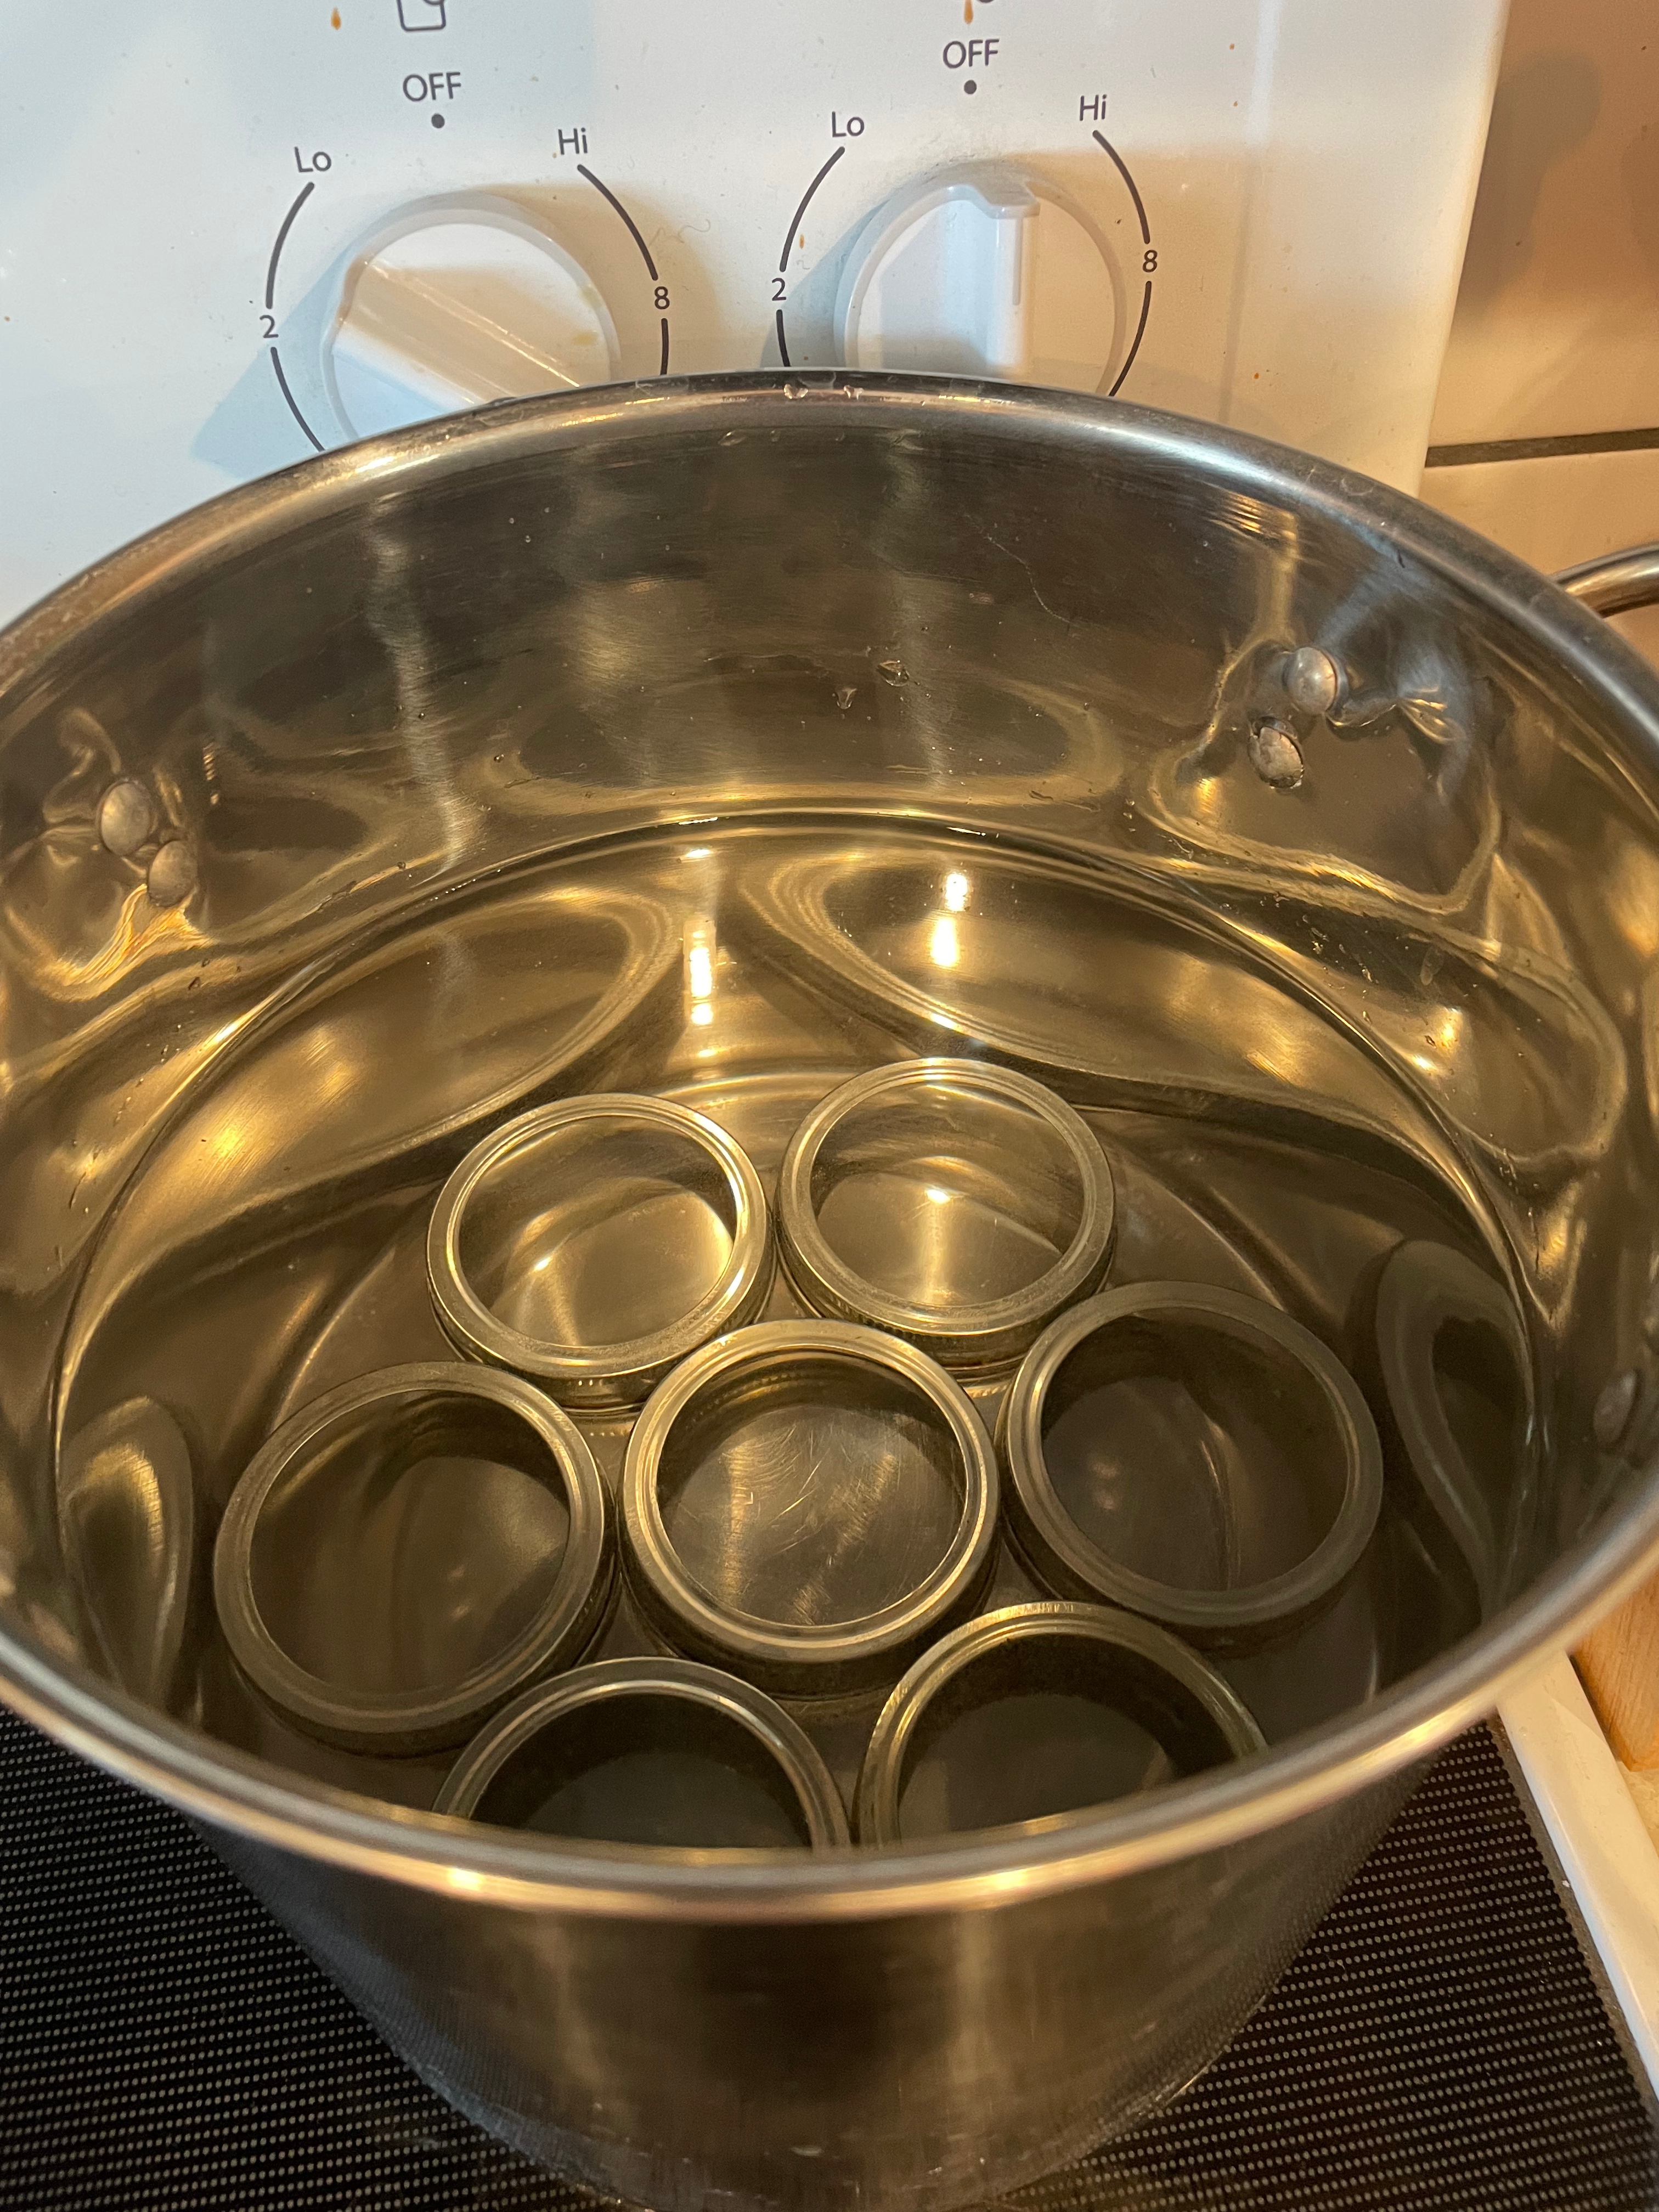
You’ll also want to get the boiling water canner set up. Water bath canners can be purchased, but you can also use a large covered pot so long as you can maintain at least an inch of water over the top of your largest jars once the water starts boiling. Actual water bath canners come with a canning rack that sets inside them to allow the water to move around the jars while boiling. Extra jar rings serve the same purpose, you just can’t lift the jars in and out of the canner if you choose to use them. I do not have a water bath canner, so I use a large covered pot with extra rings in the bottom.

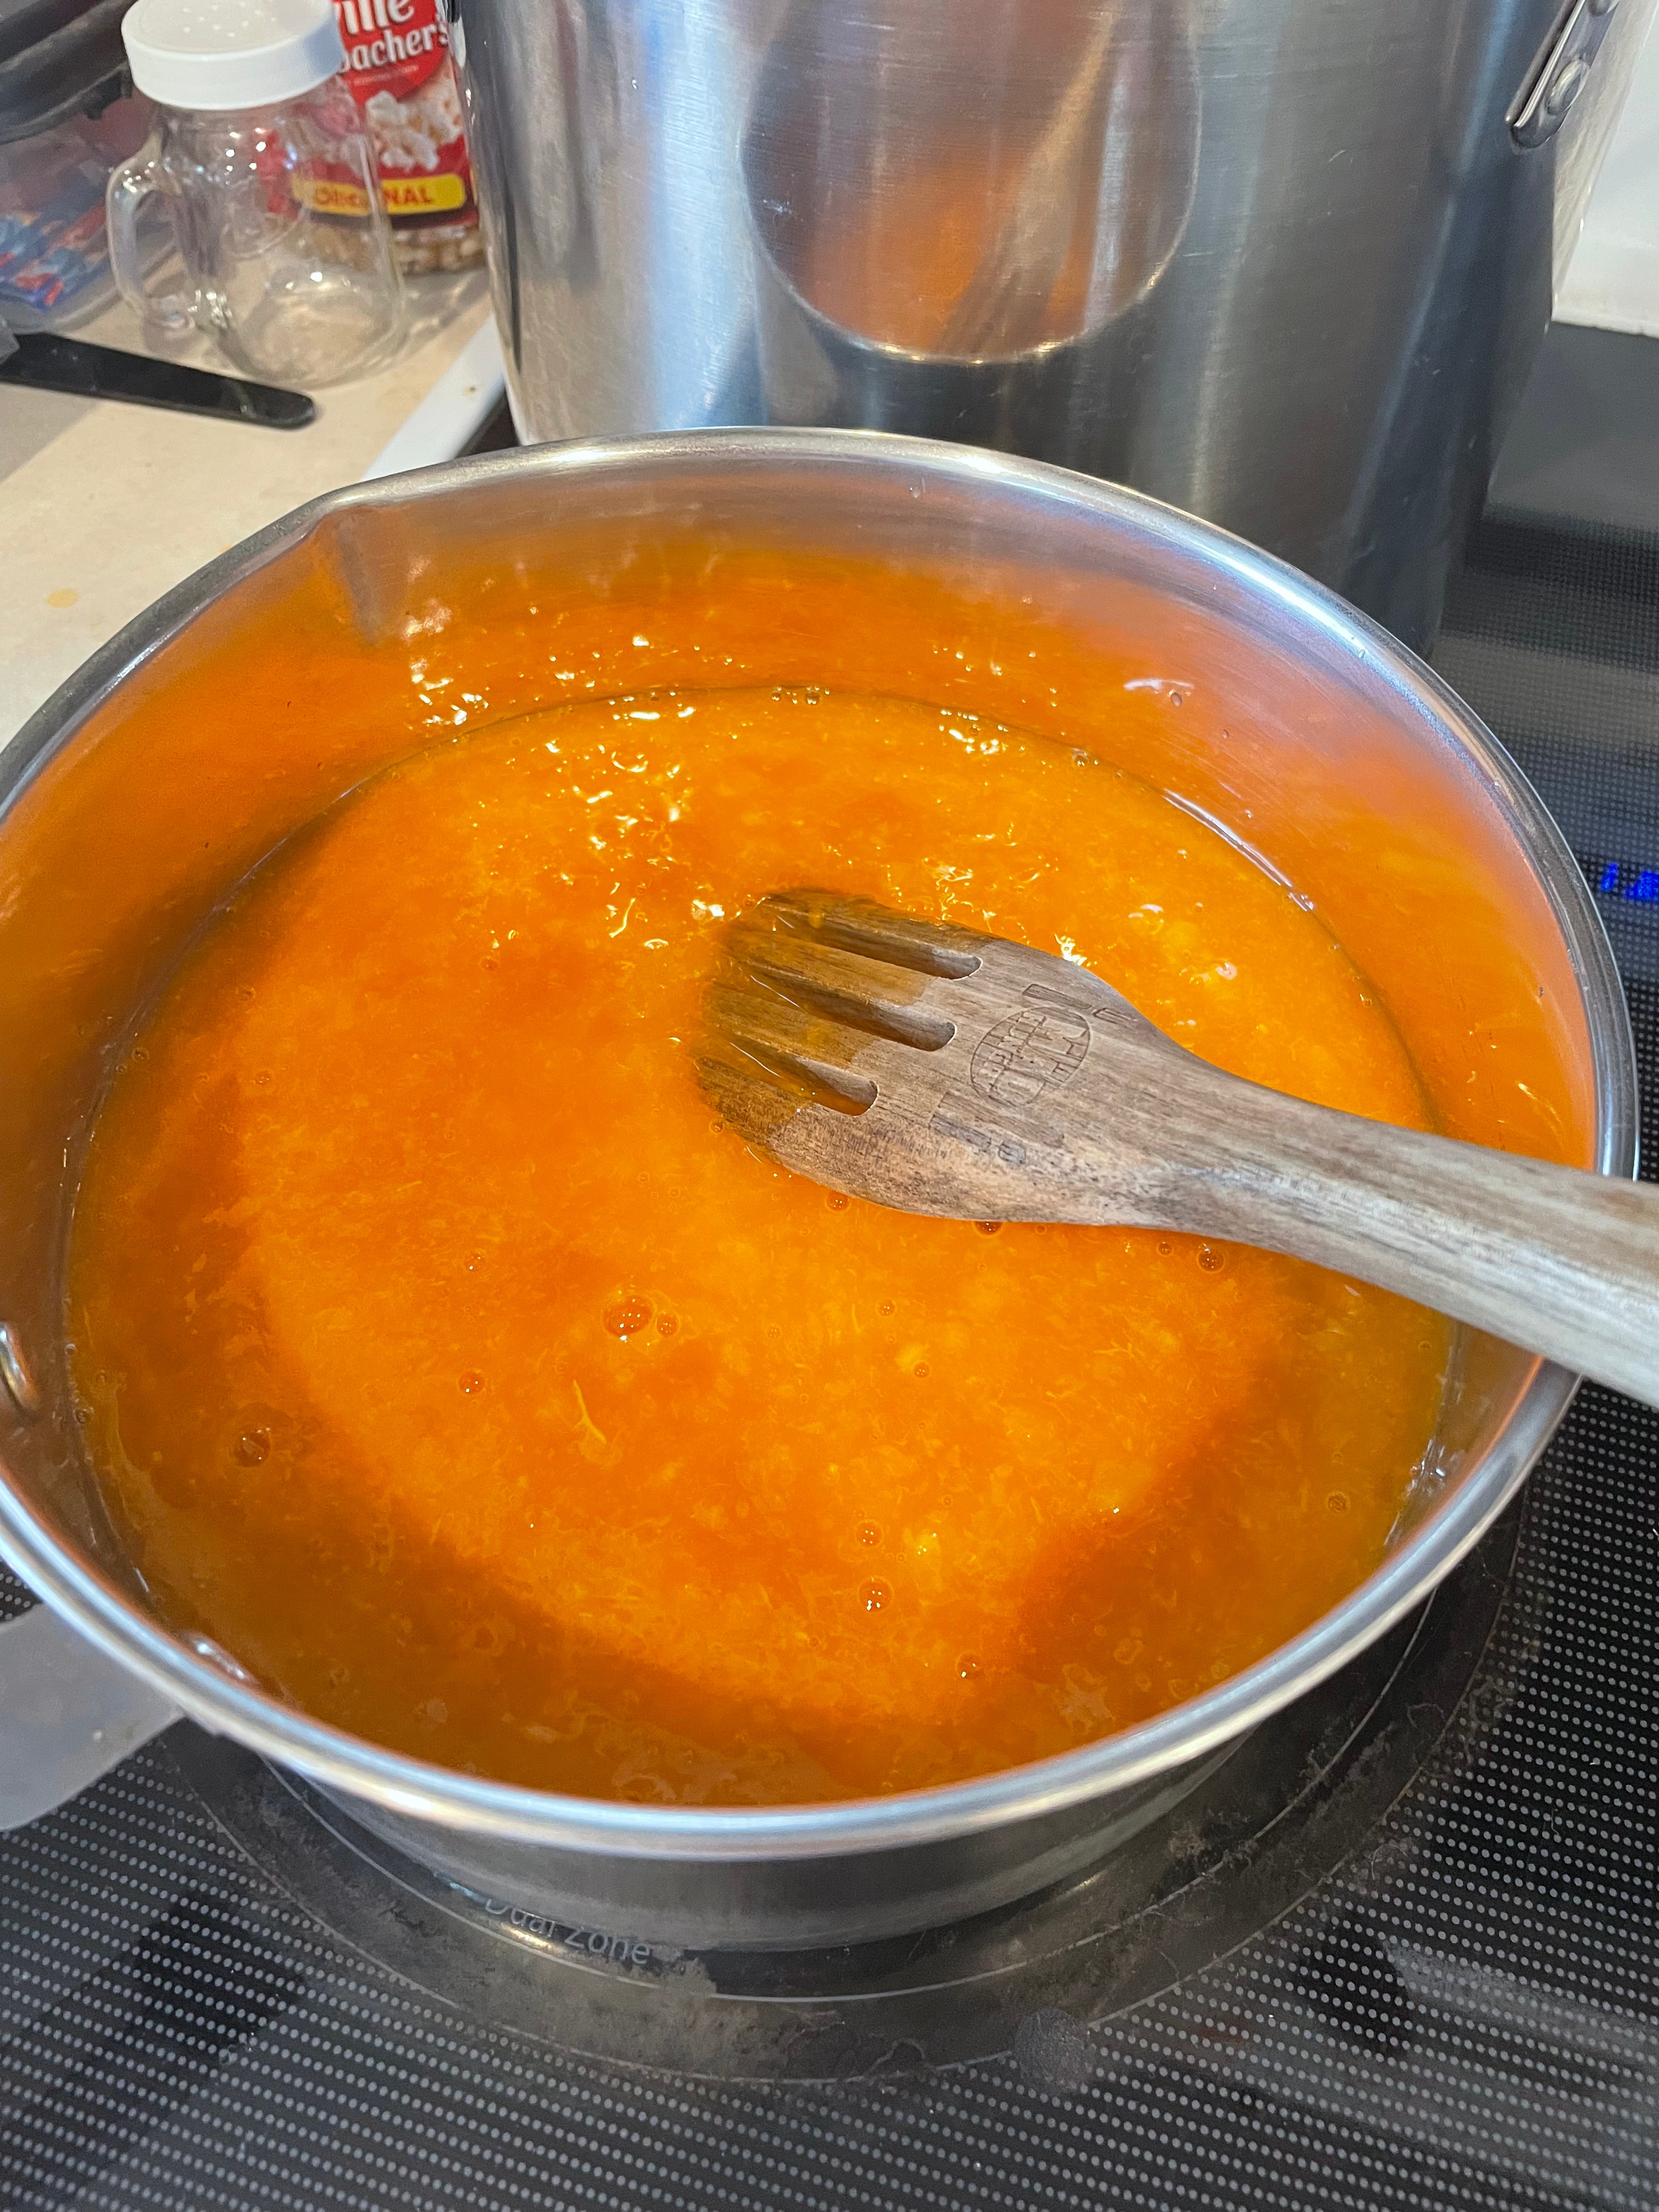
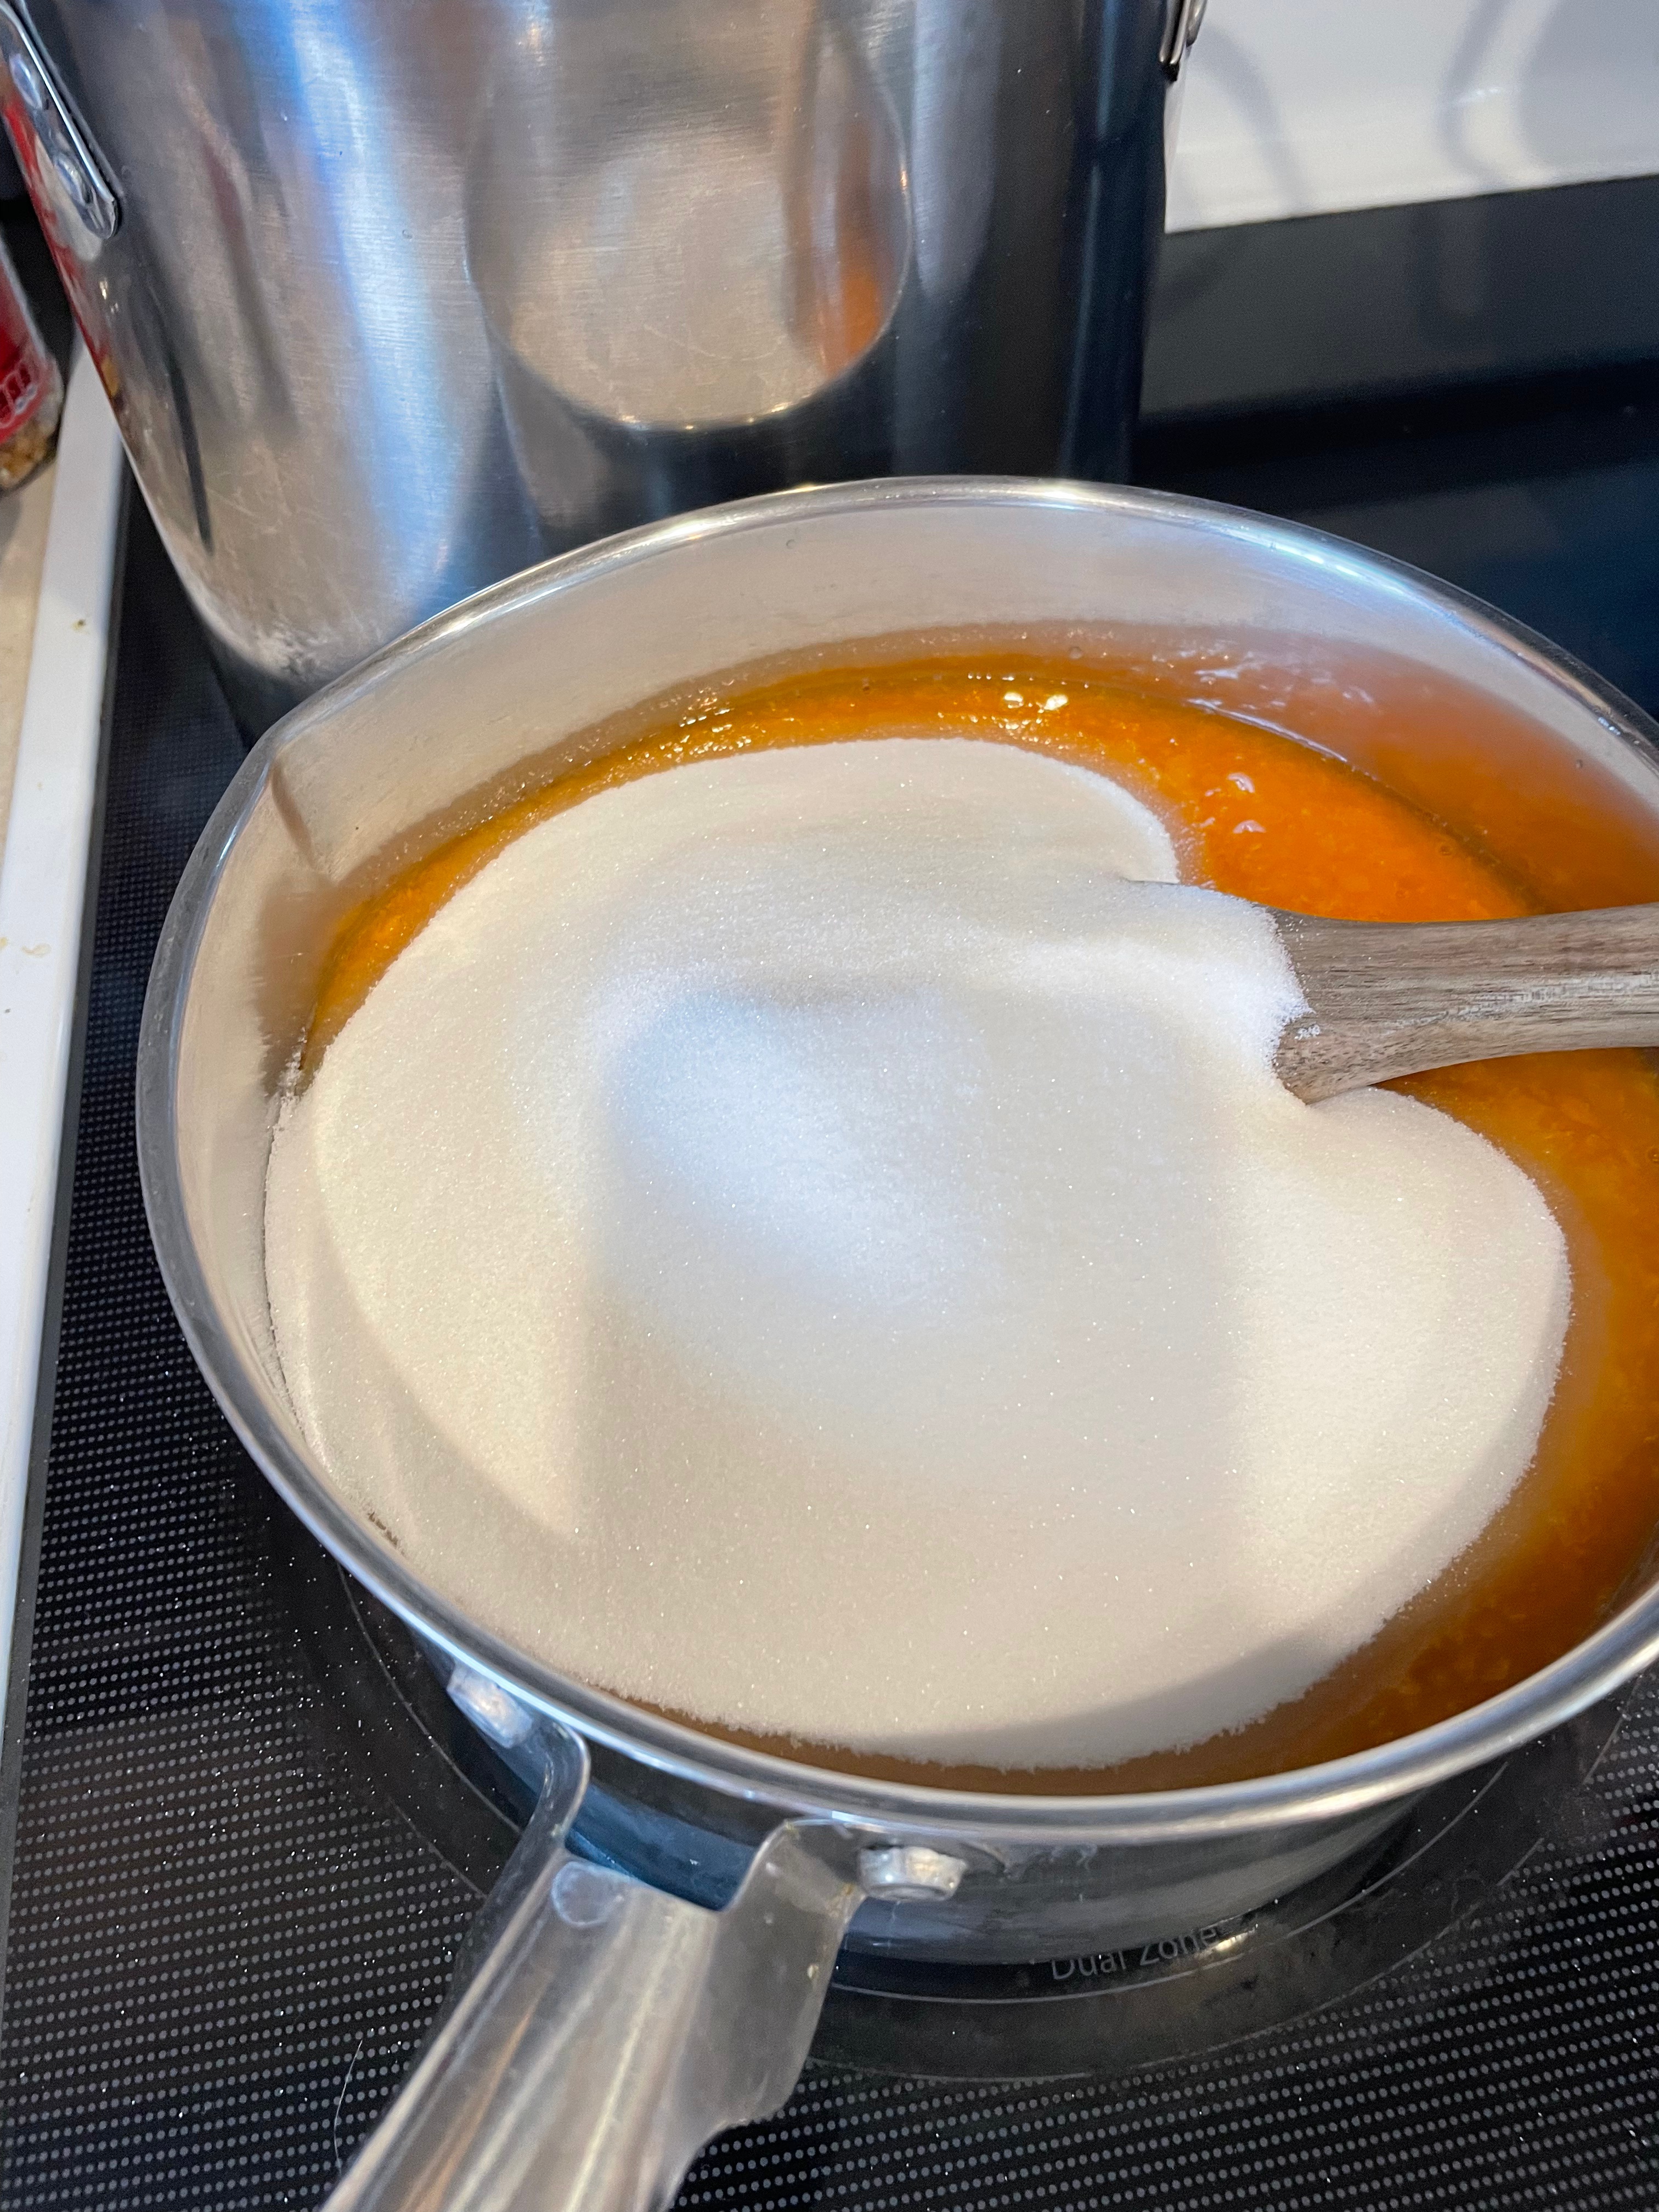
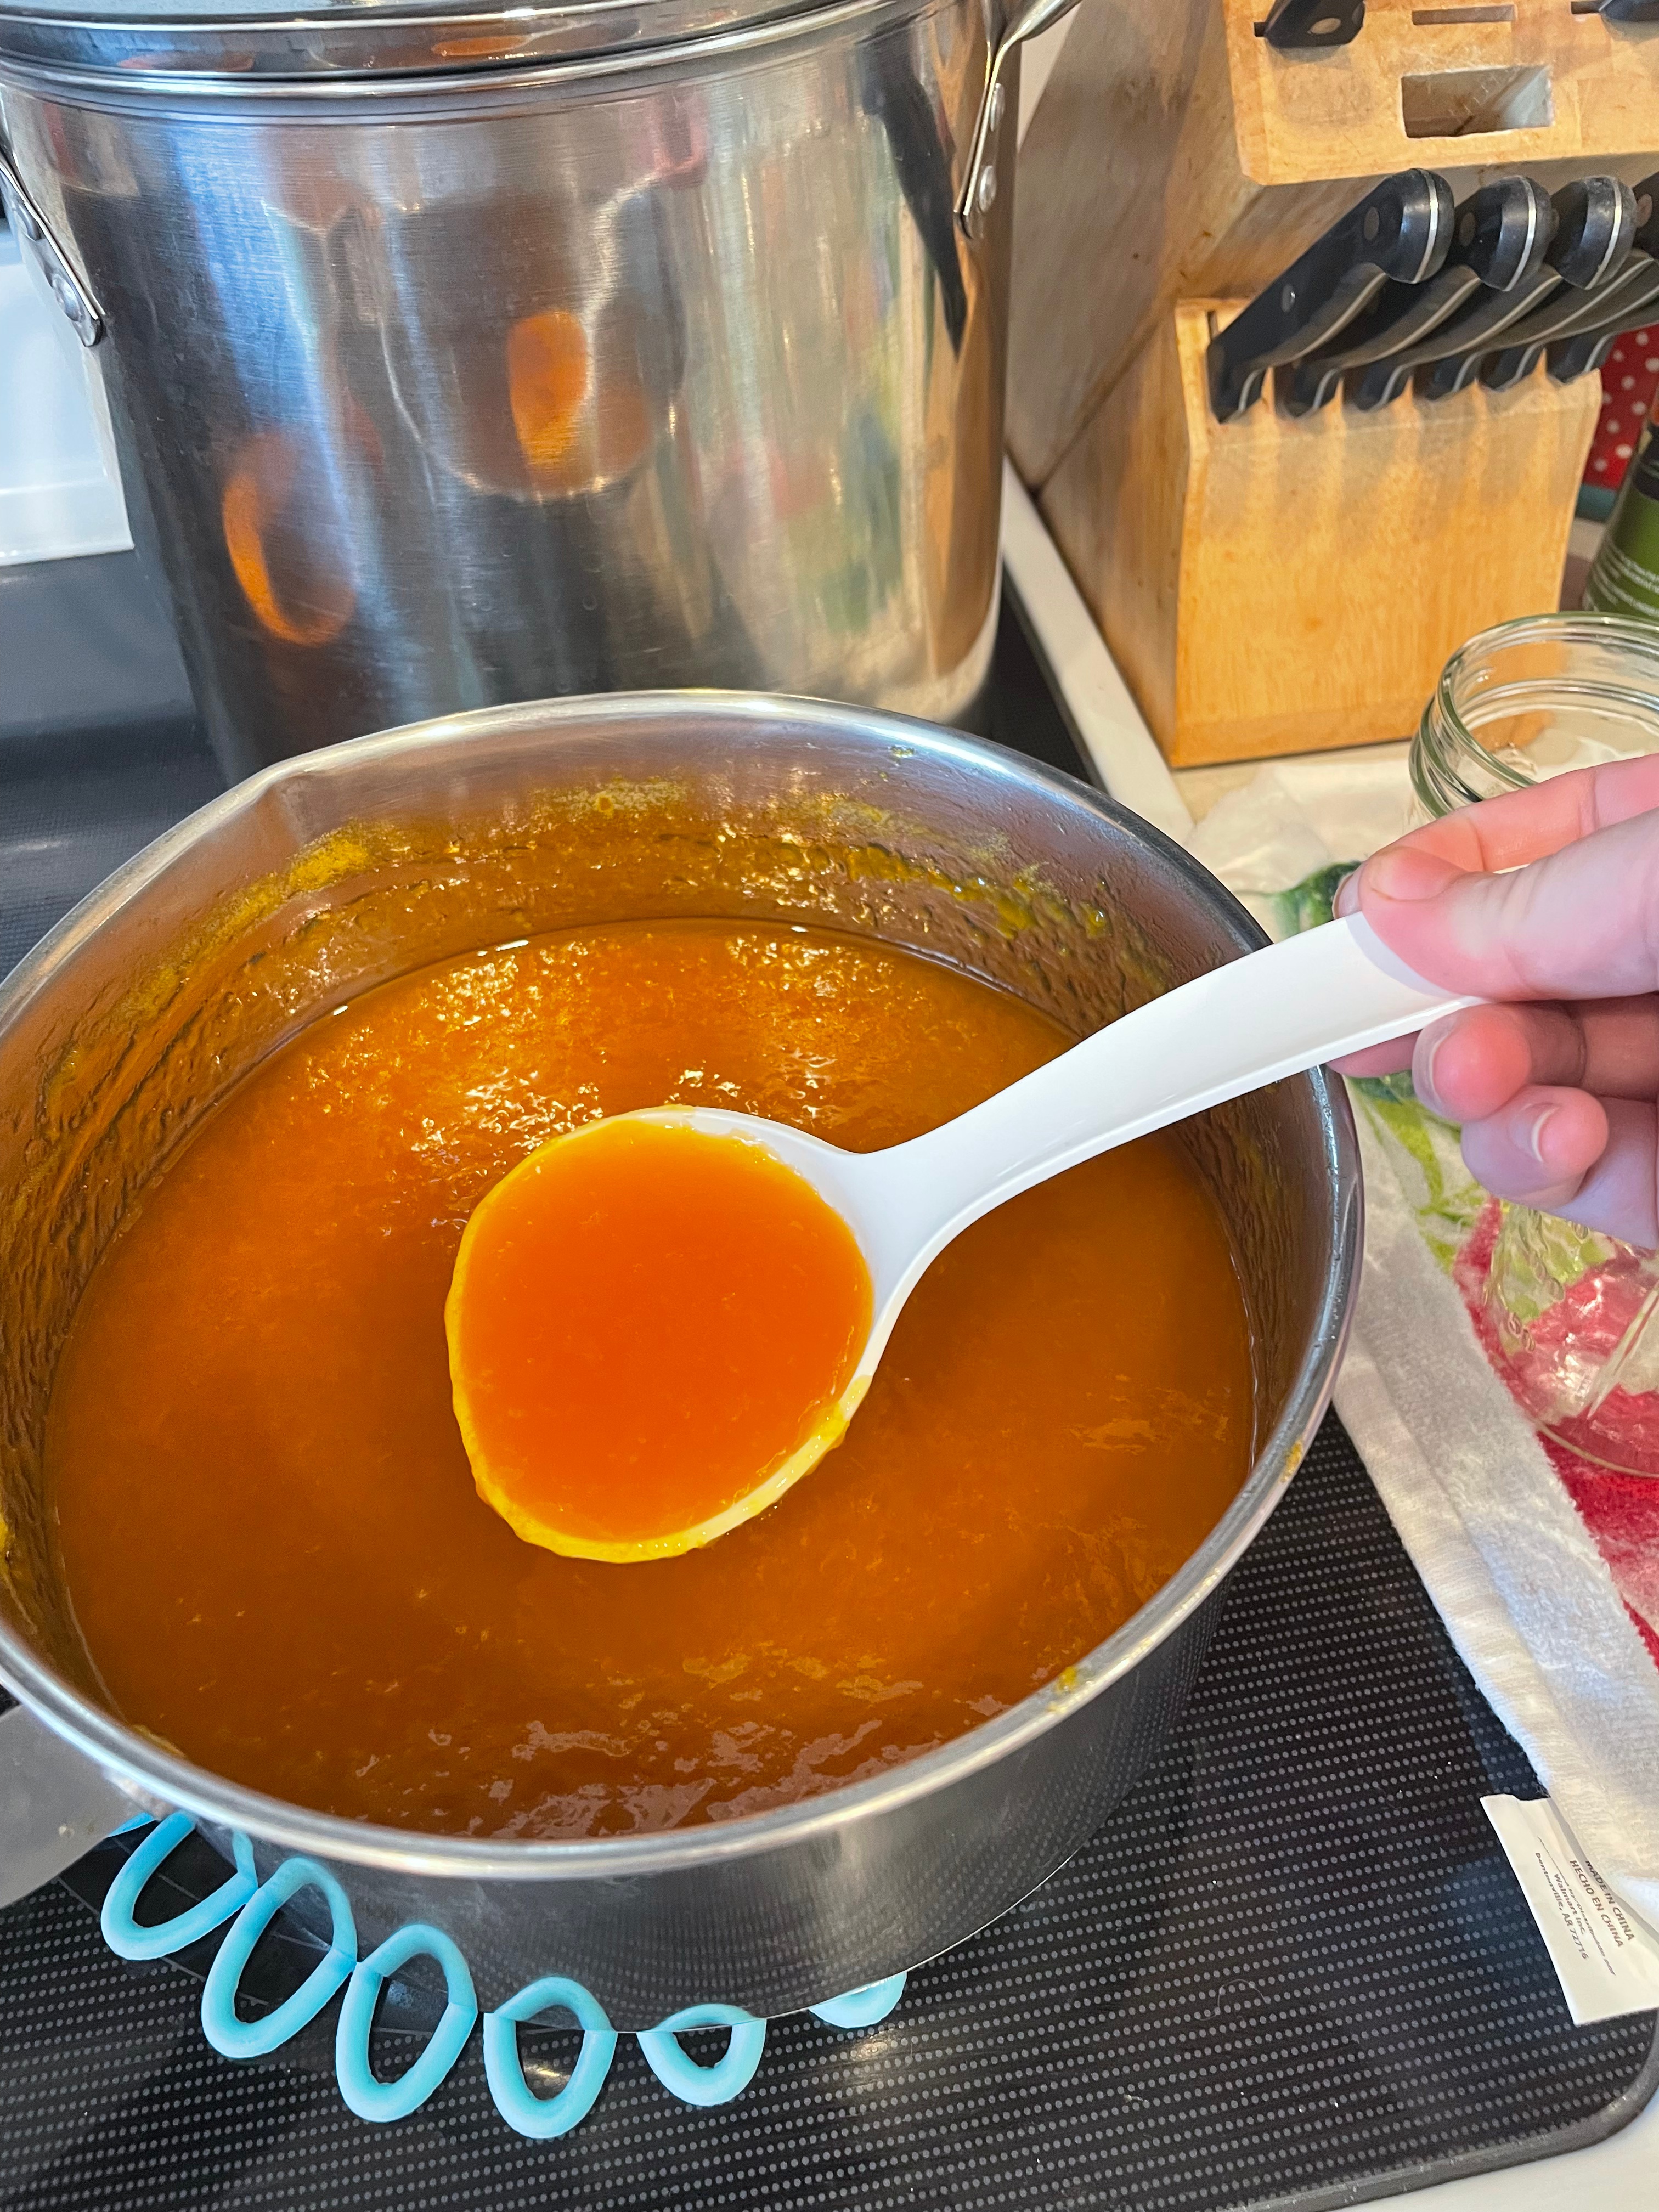
Taking your prepared apricots measure out 6 cups of puree, place it into a pan, and add 3 cups of granulated sugar. Stir it together, bring it to a boil, and let it boil while stirring until it starts to hold its shape. I found this takes about an hour after the boiling starts, and since nearly constant stirring is required to prevent scorching, I recommend using the bathroom and getting a glass of water (and maybe a chair) before beginning.


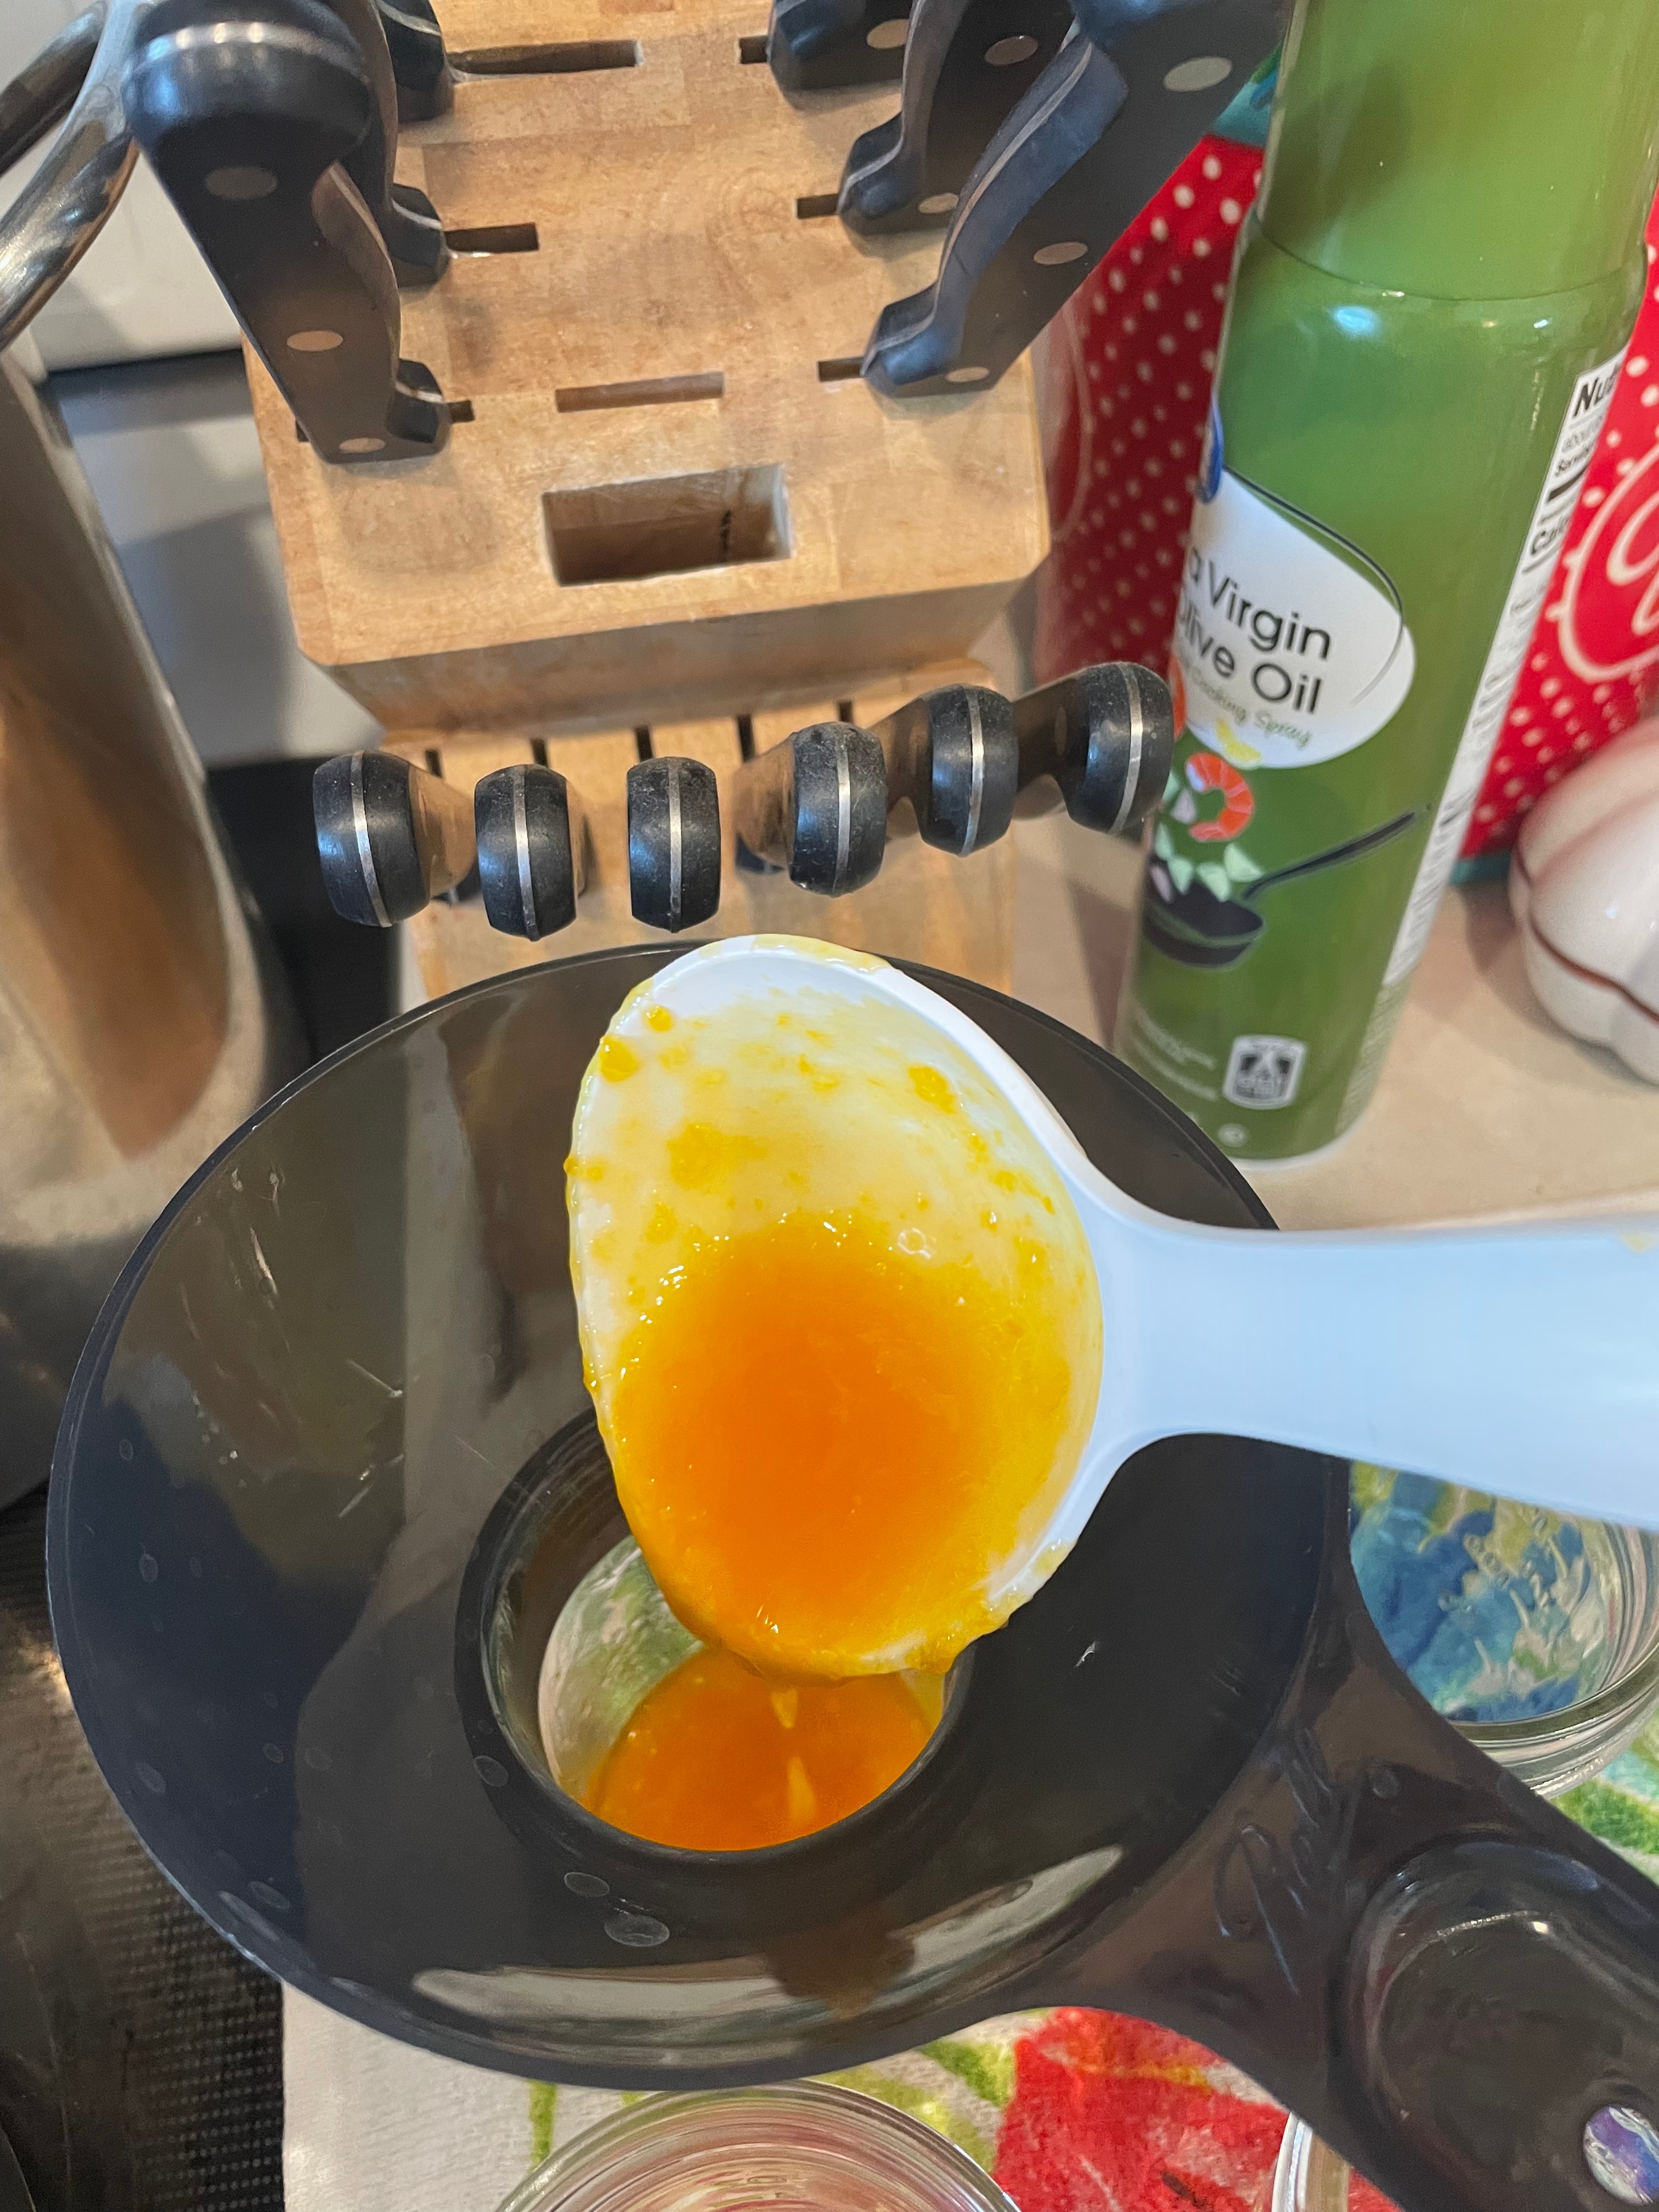
Place the apricot butter into your prepared jars, leaving a 1/4 in. headspace. Add the lid and finger-tighten the ring. Place jars of apricot butter into your boiling water canner, and boil (rolling boil) for 10min, adjusting for altitude as needed. You should have at least an inch of water over the tops of the jars for the canning process to work. Remove the jars from the canner and set on a clean towel. Leave the jars alone for 12-24 hours before checking the seals or tightening bands.


Jars that don’t seal within 24 hours should be refrigerated and used as soon as possible. Sometimes they can be put back through the boiling water canner, but definitely check a reliable canning website first. Many state universities, like the University of Georgia, have a section of their site dedicated to food safety and canning, but the USDA and Ball Mason also have the information and support lines if you can’t find the answer to your specific question on the site itself. Once the jars have sealed, you’ll want to label them. Some people, like myself, choose to write on the lids as you should not reuse them after they’ve been through the canner. Other people prefer to affix labels to the jar itself. Whatever your preference is, the date is the most important part as these should be used within a year.
My kid likes apricot butter on scrambled egg sandwiches, but it can be used on pancakes, waffles, toast, cake, or even just eaten straight from the jar. However you choose to use it, I hope you enjoy it!
All fruit used in these recipes are locally sourced (about 5 blocks from my house) or commercially grown. Fresh homegrown fruit should NEVER be transported from a quarantine area into or through a pest-free area as this can introduce destructive pests to local orchards, decimating crops and people’s livelihoods.

Leave a comment